
Well hello there – you’ve made it to my guide on how to make pour over coffee.
You know that time you went into a fancy pants coffee shop and saw a barista with a man bun pouring out of a strange kettle?
He may or may not have been doing a kind of butt wiggle hip thrust movement while he poured water oh-so-gently from said kettle.
Pay attention next time… once you see it….
Anyway…
That guy was making something called pour over coffee.
It’s my favourite type of brew method and this is, quite frankly, an insanely long blog post about it.
OK let’s get into the ultimate guide on how to make pour over coffee.
Table of Contents
What is pour over coffee?
Pour over coffee is a manual brewing method that allows you to control every aspect of the coffee-making process.
It involves pouring hot water over ground coffee in a slow, circular motion (with or without butt wiggles), resulting in a clean and balanced cup of brewed coffee.
Unlike immersion brew methods like the French press, pour over coffee relies on gravity to extract the coffee’s flavors.
This method highlights the unique characteristics of the coffee beans, producing a delicious coffee with enhanced aroma and taste.
In recent years, pour over coffee has gained popularity among coffee lovers and enthusiasts, becoming a staple in local coffee shops and homes alike.
The pour over brew method also offers a level of precision and customization that’s hard to achieve with most automatic drip coffee machines.
By adjusting variables like the coffee grind size, water temperature, and pouring technique, you can create the perfect cup tailored to your preferences.
Pour over coffee equipment is typically minimalistic and easy to use, consisting of a dripper, a paper or reusable coffee filter, and a carafe or mug to collect the final brew.
It can also be really bloody cheap.
This brewing method is also fairly eco-friendly, as it doesn’t require any wasteful pods.
What sets pour over coffee apart from the rest?
Pour over coffee offers a more interactive and engaging brewing experience compared to an automatic coffee machine, making it a favorite among many coffee aficionados.
Additionally, pour over coffee results in a clean and balanced cup, highlighting the unique characteristics of the coffee beans, which can sometimes be lost in muddy immersion methods like the French press.
As far as filter coffee goes, I’ve had more clean, enjoyable cups from pour over than I have any other method.
Fight me, Aeropress users.
What you’ll need to make pour over coffee
To start your pour over coffee journey, you’ll need a few essential items:
A pour over coffee dripper
Examples include a Hario V60, Chemex, Espro Bloom or Kalita Wave is designed to hold the coffee grounds and allow water to pass through.
A paper or a reusable filter
This will help extract the coffee flavor while preventing coffee grounds from ending up in your cup.
A coffee grinder
Preferably a burr grinder for consistent and even coffee grounds.
Fresh coffee beans
Ideally sourced from a local coffee shop or roastery.
I mean you can buy those sleeping bag sacks from Costco if you really have to, but just know that those kinds of companies aren’t great with their farmer relationships.
A kettle
For heating and pouring hot water, ideally a gooseneck kettle is better for control over the pouring process.
But honestly, even a pan of water is fine.
A digital scale
This will help accurately measure coffee grounds and water, helping you experiment with the optimal coffee-to-water ratio.
You could probably get by with an analog scale but that sounds like way too much hard work for someone as lazy as me.
A timer
This will help track the brewing process, which will allow you to refine your pour over coffee routine over time.
Your phone has one of these, you don’t need a dedicated one.
A carafe or mug
It may sound over the top, but this is to collect the brewed coffee so you can immediately pour into a mug.
Just get a carafe for $5 off Amazon you barbarian.
This post is sponsored by Jelly Donut Events
![]()
Suffice it to say, if you’re reading this blog post, you’re probably keen to learn more about pour overs.
So why not get your boss to pay for you to learn about the subject?
Jelly Donut Events has a KILLER virtual team building event where you can learn how to brew incredible pour over coffee.
They have world class hosts (I’m one, brag, brag) and take care of literally everything… you just need to turn up to the event with the coffee kit you’re sent.
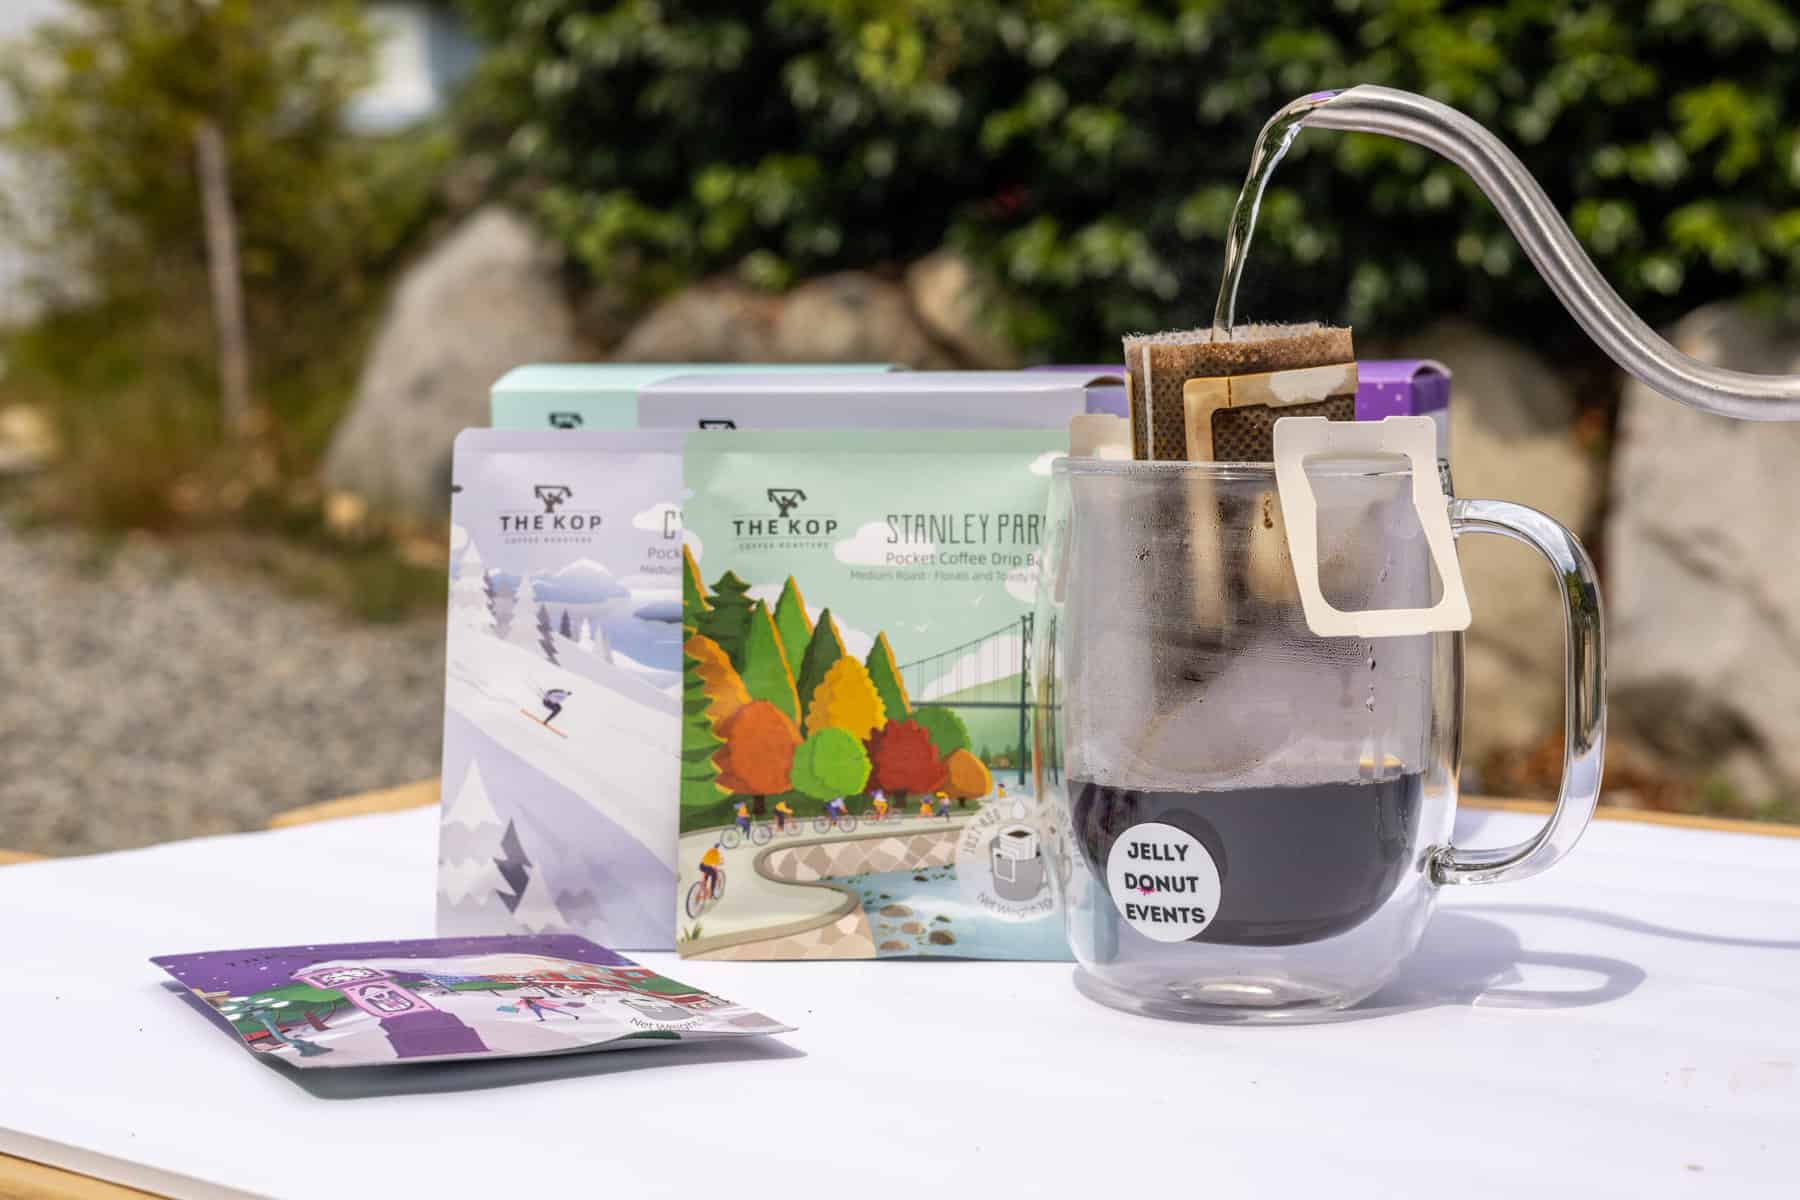
If you want to learn more click here.
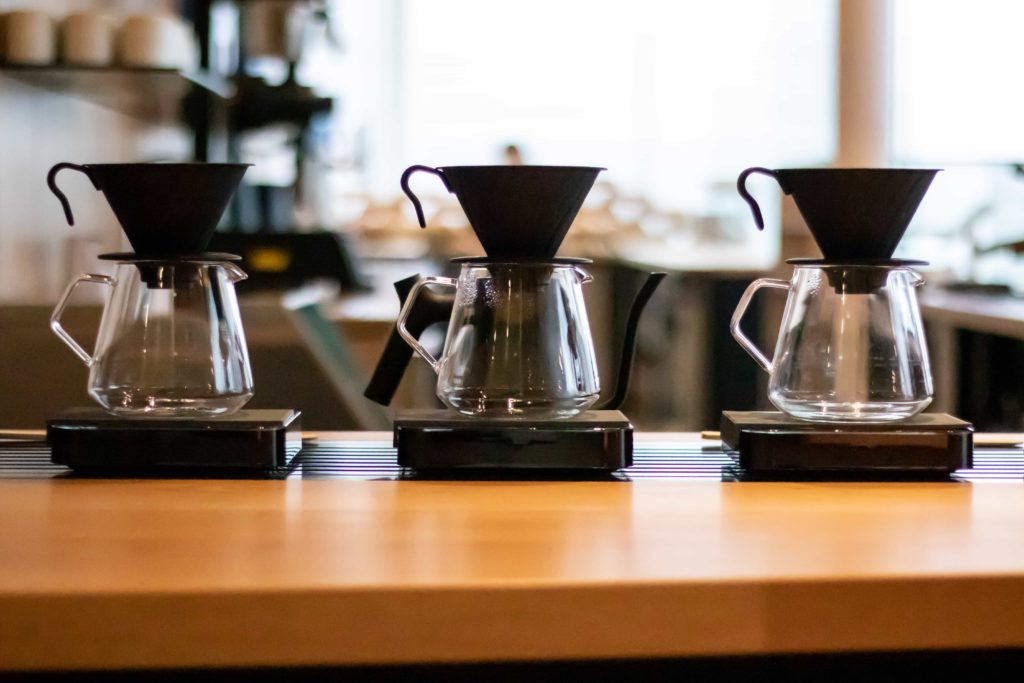
Types of drippers for pour over Coffee
There are various pour over coffee drippers available on the market, each with its unique design and characteristics.
Here are some popular options to consider:
Hario V60
This cone-shaped dripper, made from materials such as ceramic, glass, metal, or plastic, features a large single hole and spiral ridges on the inside walls.
It offers excellent temperature control (if you get the plastic one) but it’s hard to master.
That being said, it’s perfect for those seeking a bright and vibrant cup of coffee.
It’s what 99% of coffee shops probably use.
Buy it in the US.
Buy it in Canada.
Chemex
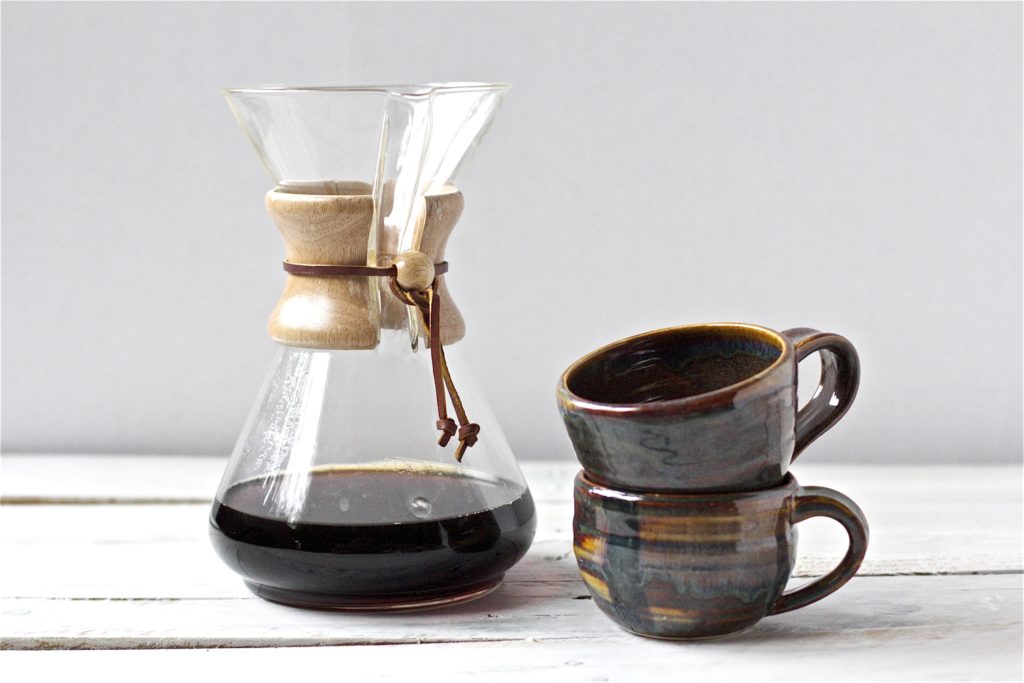
A stylish and iconic glass pour over coffee maker, the Chemex doubles as a carafe, combining form and function.
It uses proprietary thick paper filters, which contribute to a clean and smooth final brew.
The Chemex is great for when you want to make lots of coffee at once.
Buy it in the US.
Buy it in Canada.
Kalita Wave

The flat-bottomed design of the Kalita Wave, along with its three small drainage holes, promotes a more even extraction and consistent brew.
The signature “wave” filters help maintain a stable coffee bed temperature.
The Kalita Wave is ideal for those seeking a balanced and nuanced cup, although I’ve found it to mute a lot of the brighter flavours.
Buy it in the US.
Buy it in Canada.
Origami Dripper

With its eye-catching, colorful design and multiple ridges, the Origami Dripper offers excellent heat retention and even extraction.
Compatible with both Hario V60 and Kalita Wave filters (well, sort of anyway), it provides versatility and allows you to experiment with different brewing techniques.
Espro Bloom
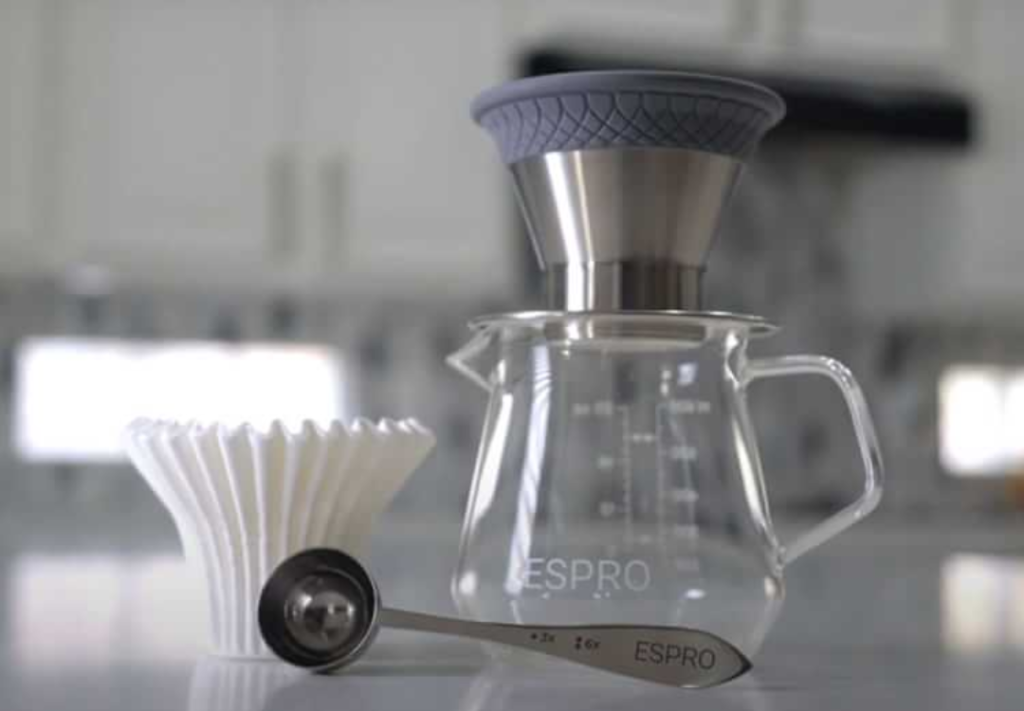
The Espro Bloom is a stainless steel, flat-bottomed dripper with a unique design that features “1,500 evenly distributed holes for optimal water flow and extraction”.
The Bloom’s deep brew bed helps to accentuate the coffee’s natural sweetness and produces a rich, full-flavored cup.
It is compatible with both paper and the built in metal filter, giving you the flexibility to adjust the resulting taste according to your preference.
This has been my go-to daily brewer for a couple of years now.
Buy it in the US.
Buy it in Canada.
These are just a few of the many pour over brewers and drippers available to coffee enthusiasts.
Each dripper has its unique characteristics, so it’s worth trying different options to find the one that best suits your taste preferences and brewing style.
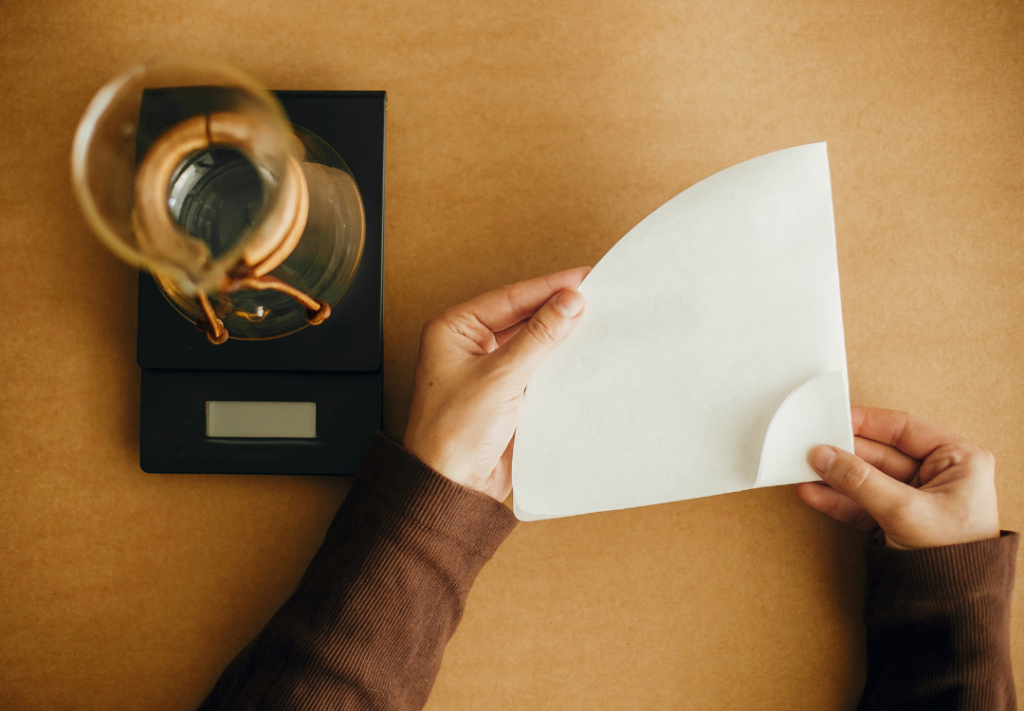
Types of paper filters: Bleached vs unbleached
When it comes to pour over coffee, the type of paper filter you choose can have a significant impact on the final taste of your brew.
Two common options are bleached and unbleached paper filters:
Bleached filters
As the name suggests, these filters are treated with a bleaching process to achieve a white color.
The two primary methods of bleaching are oxygen-based and chlorine-based.
Oxygen-bleached filters are considered more environmentally friendly and have minimal impact on the taste of your coffee.
Many coffee enthusiasts prefer bleached filters because they don’t impart any noticeable paper taste to the brew, allowing for a cleaner and purer coffee flavor.
Unbleached filters
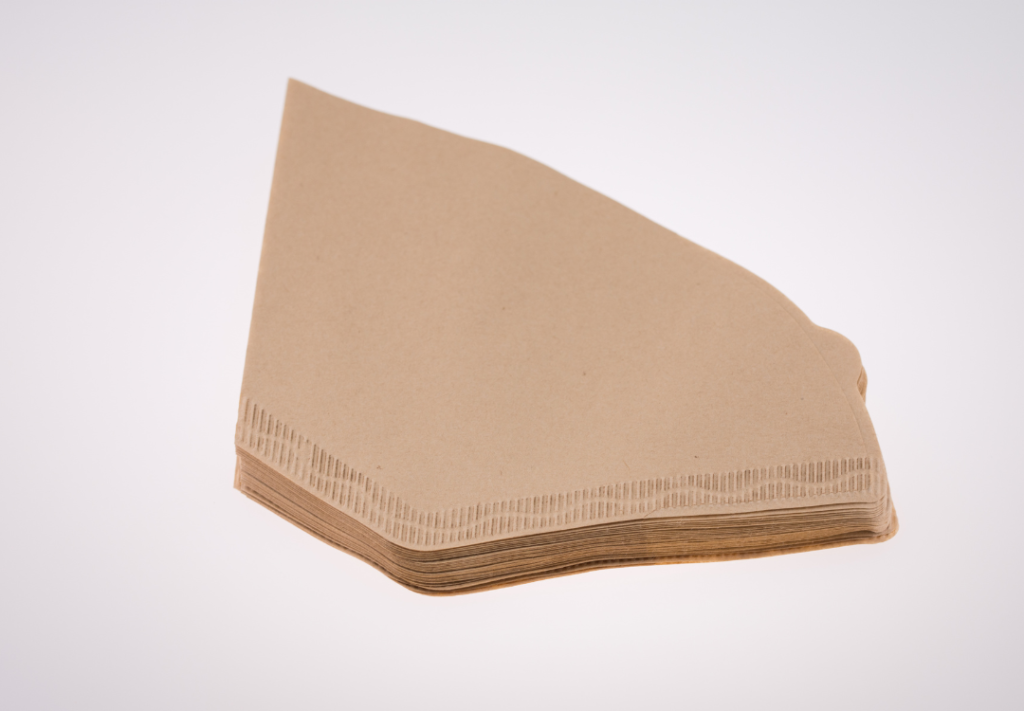
These filters maintain their natural brown color, as they haven’t undergone a bleaching process.
While more eco-friendly, unbleached filters can sometimes impart a slight paper taste to your coffee.
To minimize this, it’s recommended to rinse the filter thoroughly with hot water before brewing.
By doing this, you can also preheat your pour over dripper and carafe or mug, which will help maintain a stable brewing temperature.
The choice between bleached and unbleached coffee filters ultimately comes down to personal preference and environmental considerations.
I personally always prefer bleached filters.
If you want to test it, rinse both filters then put them into a mug of hot water. Let them steep for a few minutes and taste the water.
Unbleached tastes like paper. That taste will end up in your coffee.
Regardless of the type you choose, remember to rinse the filter with hot water before brewing to ensure the best possible taste and consistency in your pour over coffee.
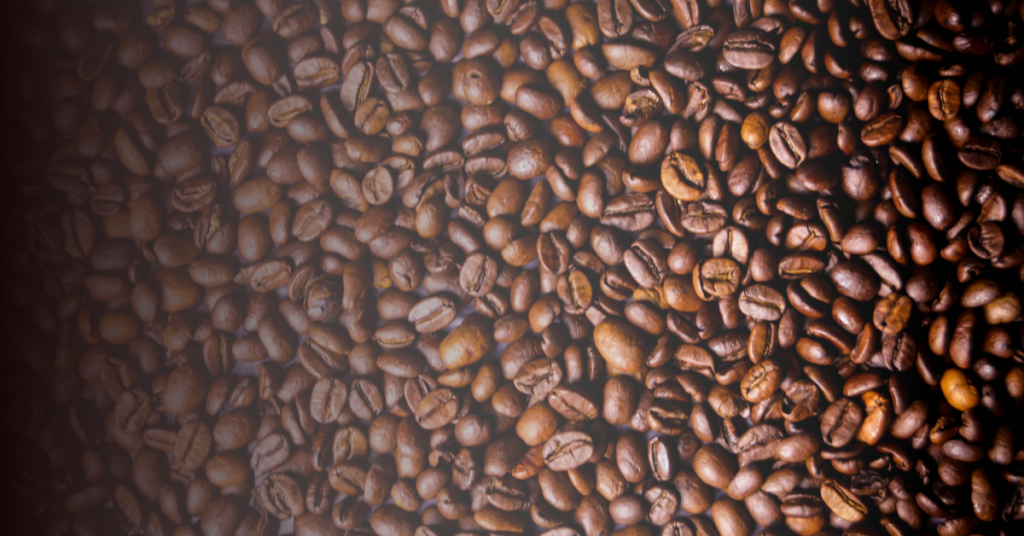
What coffee is best for pour over coffee?
When selecting coffee for pour over brewing, there’s no definitive answer, as personal taste preferences play a significant role.
However, some general guidelines can help you make an informed decision:
- Freshness: Freshly roasted coffee beans are crucial for pour over brewing.
Look for beans that have been roasted within the past two weeks to ensure the best possible flavor. That being said, I’ve enjoyed a lot of coffee a month or two after roast date.
Local coffee shops and roasters are excellent sources for freshly roasted beans. - Bean Origin: Don’t worry about always going for single origin, like the coffee snobs say.
While they can be great, there’s a lot of great blends these days.
Try lots of different types and learn what kind of flavours you like, then you can zero in on an origin. - Roast Level: Light roast to medium roasted beans are generally recommended for pour over brewing, as they tend to showcase the beans’ inherent flavors, acidity, and complexity better than darker roasts.
That said, if you prefer the rich, bold taste of dark roasted beans, don’t hesitate to experiment with them. - Flavor Profile (read the bag for this): The pour over method can accentuate the bright, fruity, and floral notes often found in beans with higher acidity.
If you enjoy these characteristics, opt for beans with a flavor profile that matches your preferences.
However, if you prefer a more balanced, chocolatey, or nutty taste, look for beans with those flavor notes.
Ultimately, the best coffee for pour over brewing is the one that suits your personal taste.
Don’t be afraid to explore different beans, origins, and roast levels to find the perfect match for coffee tastes and your palate.
Canadians, here’s a great list of roasters you should consider.
What kind of kettle should I use for pour over coffee?
The choice of kettle plays a crucial role in the pour over coffee brewing process, as it affects the water flow and temperature control.
When selecting a kettle for best pour over coffee brewing, consider the following factors:
Gooseneck kettle
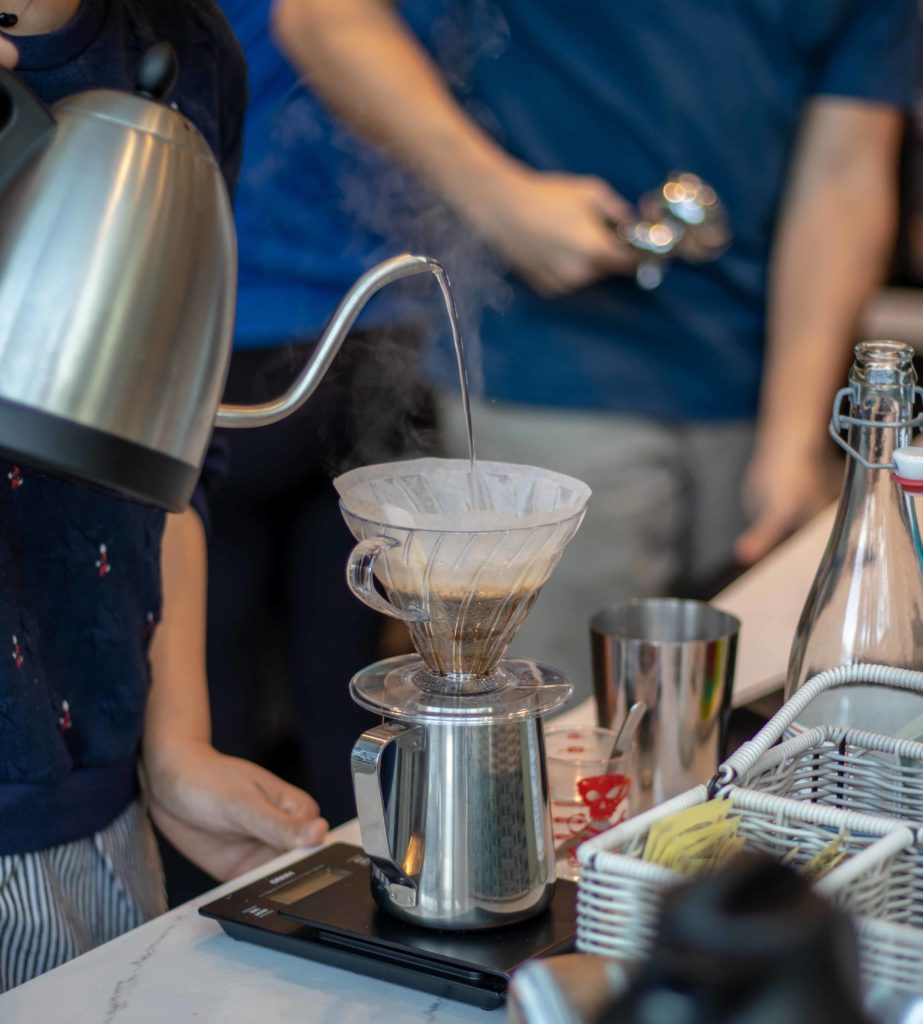
A gooseneck kettle is highly recommended for pour over coffee because it offers greater control over the water flow, making it easier to pour in a slow and precise manner.
This helps ensure even saturation of the coffee grounds, which leads to a more balanced extraction and a better-tasting final brew.
It should be noted, though, that you don’t need one. You can get by with a pan of boiling water if you must.
Material
Kettles made from stainless steel or copper are popular choices for pour over brewing, as they offer excellent heat retention and durability.
Glass kettles are another option, although they may be less effective at maintaining a consistent water temperature.
Capacity
Choose a kettle with a capacity that matches your brewing needs.
If you typically brew just one or two cups of coffee at a time, a smaller kettle might be sufficient.
However, if you often brew for multiple people or enjoy larger servings, consider a larger kettle.
Temperature control
Some kettles come with built-in temperature controls or temperature gauges, which can be helpful for achieving the optimal water temperature for pour over brewing (typically around 195°F to 205°F or 90°C to 96°C).
While not essential, this feature can take the guesswork out of heating your water and ensure a more consistent brewing experience.
If in doubt, boil the water, then leave it for 30 seconds. That’ll get you pretty close to a great brewing temperature.
Electric vs. stovetop kettles
Electric kettles are convenient and often come with built-in temperature controls, while stovetop kettles can be used on various heat sources and offer a more traditional brewing experience.
Both options can work well for pour over coffee, so consider your personal preferences and available kitchen space when making a decision.
Ultimately, a gooseneck kettle—whether electric or stovetop—made from durable materials and offering good temperature control is your best choice for pour over coffee brewing.
Investing in a high-quality kettle will contribute to a more enjoyable and consistent pour overs and brewing experience.
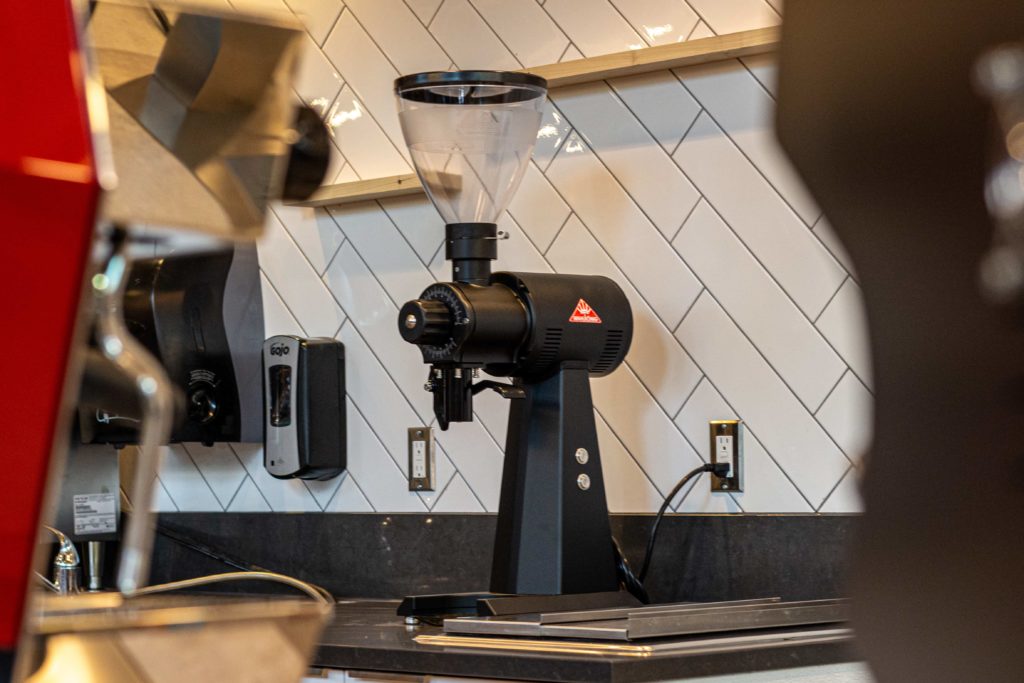
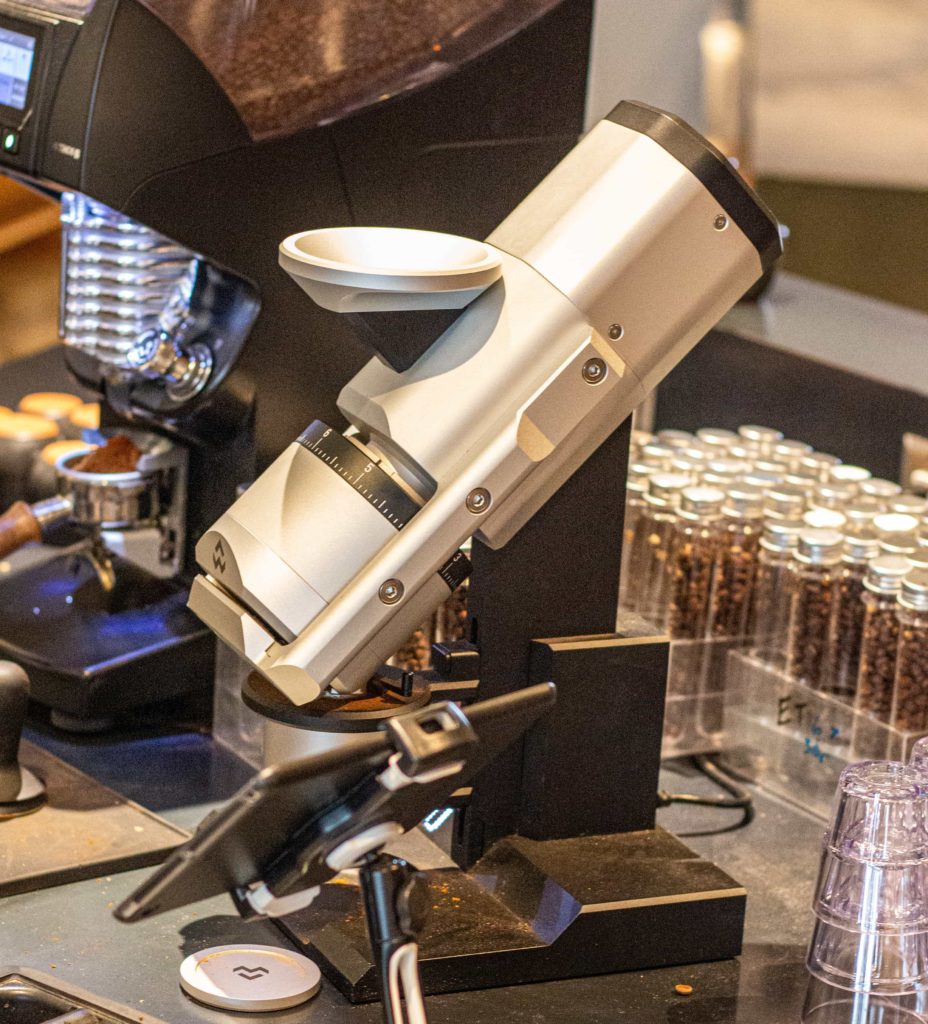
What grinder should I use to make pour over coffee?
Choosing the right grinder for pour over coffee is crucial because it affects the extraction and flavor of your final brew.
I actually think that getting your grind dialled in is the single best thing you can do to improve your coffee brewing, for any brew method.
When selecting a grinder, consider the following factors:
Burr grinder
A burr grinder is the best type of grinder for pour over coffee because it produces consistent and uniform particle sizes, ensuring even extraction and a balanced final brew.
Blade grinders, on the other hand, tend to produce uneven particle sizes, which can lead to over-extraction and bitterness.
Manual vs. electric coffee grinders
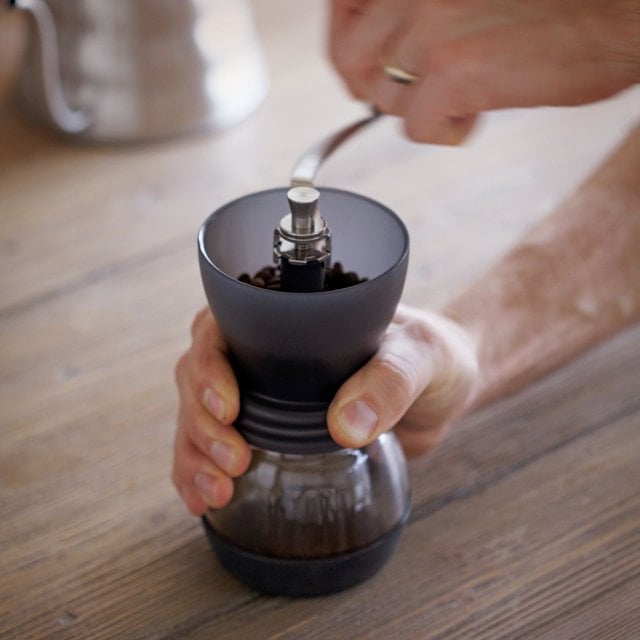
Both manual and electric burr grinders are suitable for pour over coffee.
Manual grinders are often more affordable, portable, and quieter, while electric grinders offer faster and more convenient grinding.
Manual grinders are a hell of an arm workout though.
Grind settings
Choose a grinder with adjustable grind settings to achieve the optimal particle size for your pour over coffee.
The grind size should match your brewing method and preference.
For pour over coffee, a medium grind is typically recommended, although some brewing methods may require a finer or coarser grind.
Burr material
Burr grinders come in two types of materials: ceramic and steel.
Ceramic burrs are known for their durability and produce less heat during grinding, which can help preserve the coffee’s flavor.
Steel burrs, on the other hand, are more affordable and can provide a wider range of grind sizes.
Capacity
Choose a grinder with a capacity that matches your brewing needs.
If you typically brew just one or two cups of coffee at a time, a smaller grinder might be sufficient.
However, if you often brew for multiple people or enjoy larger servings, consider a larger grinder.
This is not really an issue with electric grinders, but definitely shows up in the hand grinder market.
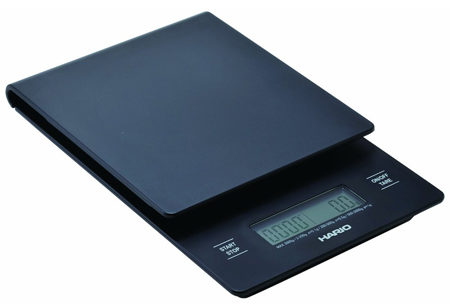
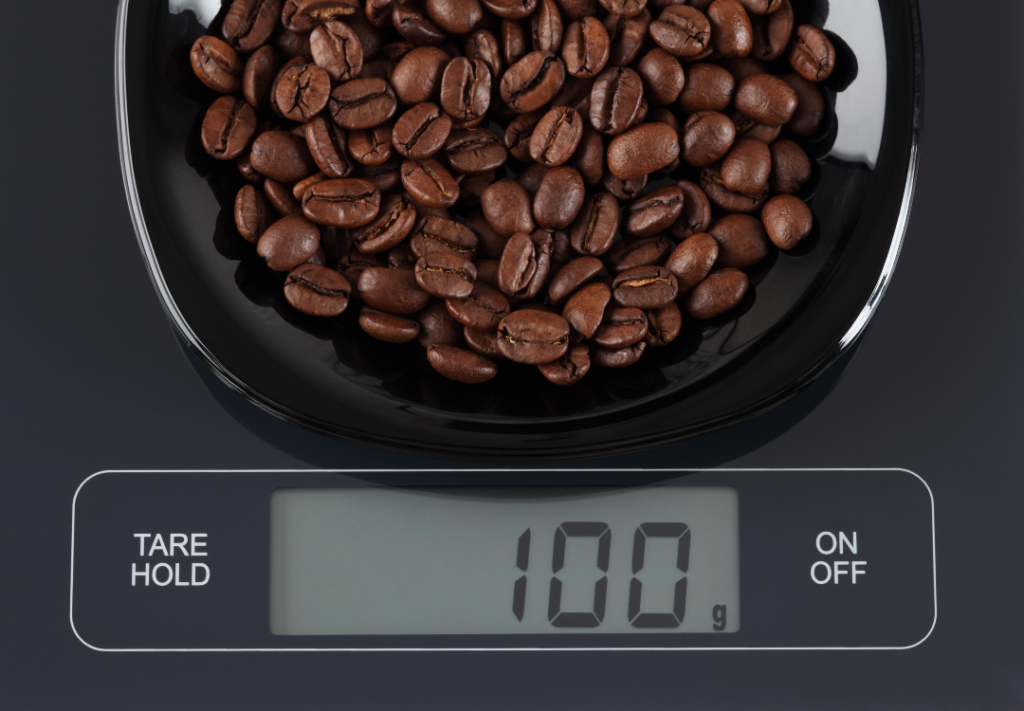
What scale should I use to make pour over coffee?
A scale is a really useful tool for making great pour over coffee, as it ensures precision and consistency in your brewing process.
INSERT PHOTO
Here are some factors to consider when choosing a scale for pour over coffee:
- Accuracy: Look for a scale that measures in small increments, typically at least 0.1 grams, to ensure precise measurements of both coffee grounds and water.
- Capacity: Choose a scale with a capacity that accommodates your brewing setup, including your dripper, carafe or mug, and the amount of coffee and water you plan to use.
- Tare Function: A tare function is essential for zeroing out the weight of your brewing equipment, allowing you to measure only the weight of the coffee and water.
- Timer: Some scales come with built-in timers, which can be convenient for tracking your brewing time and maintaining consistency across multiple brews.
- Water-Resistance: Brewing coffee involves water, so it’s a good idea to choose a scale with some degree of water resistance to protect it from accidental spills or splashes.
- Size and Portability: Consider the size and portability of the scale, especially if you have limited counter space or plan to travel with your brewing equipment.
How does coffee brewing actually work?
What is osmosis in coffee brewing?
Osmosis plays a vital role in coffee brewing, as it’s the process through which water extracts soluble compounds from the coffee grounds.
In simple terms, osmosis occurs when water moves across a semipermeable membrane (like the coffee grounds) from an area of low solute concentration to an area of high solute concentration, equalizing the concentrations on both sides.
Make sense? No?
Alright, kiddo, imagine you have two rooms separated by a door with tiny holes in it.
In one room, there’s a big ol’ pile of candy, and in the other room, there’s just a little bit of candy.
The candy wants to be fair and share with each other, so they start squeezing through those tiny holes in the door.
Eventually, both rooms have about the same amount of candy.
That’s osmosis – when stuff moves through tiny holes to make things even on both sides.
In coffee brewing, it’s how water takes the flavors from the coffee grounds to make our delicious coffee.
A slightly more nerdy overview of how osmosis works in coffee brewing:
- Coffee Grounds: Coffee grounds consist of various soluble and insoluble compounds, including acids, coffee oils, and aromatic molecules that contribute to the flavor and aroma of the final brew.
- Water: Hot water is the solvent that extracts the soluble compounds from the coffee grounds. The temperature of the water affects the extraction rate and the solubility of various compounds.
- Osmosis: Osmosis is the process by which water molecules move across a semi-permeable membrane (in this case, the coffee grounds) from an area of lower solute concentration to an area of higher solute concentration, with the goal of achieving equilibrium.
- Extraction: During brewing, the hot water dissolves the soluble compounds in the coffee grounds, creating a concentration gradient. Osmosis drives water molecules into the coffee grounds, extracting more soluble compounds until equilibrium is reached, or until the brewing process is stopped.
Understanding osmosis in coffee brewing helps emphasize the importance of proper grind size, water temperature, and brewing time to achieve optimal extraction and a delicious cup of coffee.
What is the ratio for pour over coffee?
The coffee-to-water ratio is an important factor in determining the strength and flavor of your pour over coffee.
A commonly recommended ratio for pour over coffee is 1:15 to 1:17, meaning 1 part coffee to 15 to 17 parts water.
For example, if you are using 20 grams of coffee, you would use 300 to 340 grams of water.
It’s important to note that personal preference plays a significant role in determining the ideal coffee-to-water ratio.
You may need to adjust the ratio to achieve your desired taste and strength.
Experimenting with different ratios will help you find the perfect balance for your palate.
Blooming the coffee
Blooming is an essential step in the pour over brewing process that helps ensure optimal extraction and flavor.
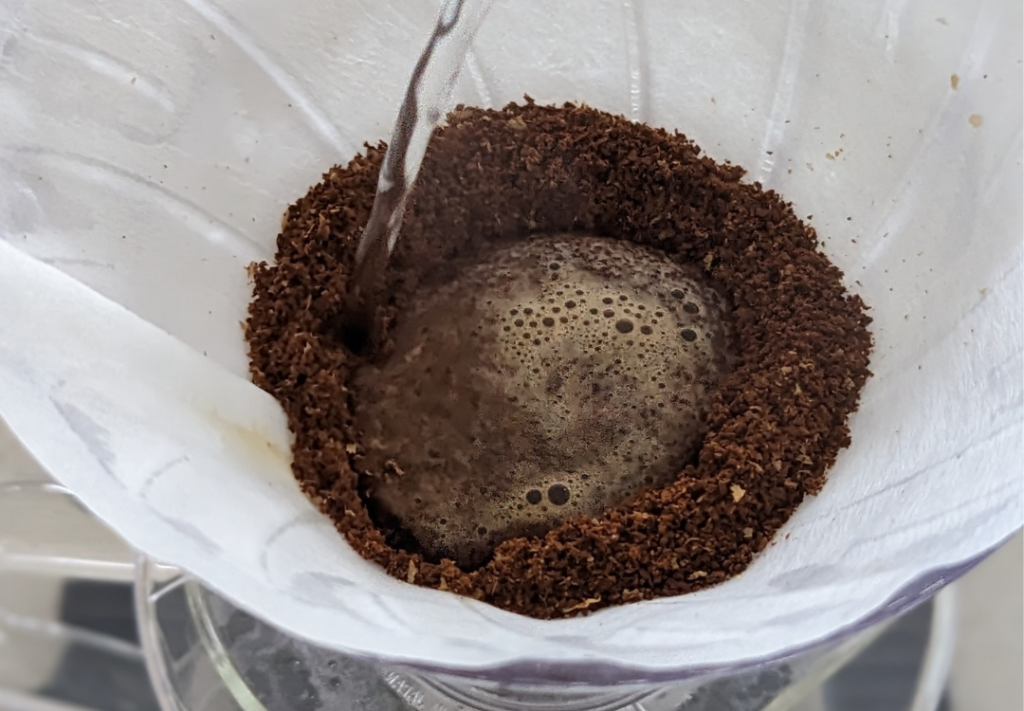
Here’s how blooming works and why it’s important:
- Degassing: When hot water is first poured over the coffee grounds, it causes the release of carbon dioxide trapped within the coffee during the roasting process.
This release of gas is called degassing. - Wetting the Grounds: As the coffee grounds release gas, they also absorb water, becoming fully saturated.
Properly wetting the grounds ensures even extraction throughout the brewing process. - Improved Extraction: By allowing the coffee grounds to degas and become fully saturated before continuing with the main pour, you promote more uniform extraction of the coffee’s flavors, oils, and compounds.
What water temperature should I use?
The temperature of the water used for brewing pour over coffee has a significant impact on extraction and flavor.
Here are some guidelines to consider when selecting the right kettle temperature:
- Ideal Temperature Range: Most experts recommend a water temperature between 195°F (91°C) and 205°F (96°C) for optimal extraction in pour over coffee.
Within this range, the water is hot enough to dissolve the desirable flavor compounds but not too hot to extract excessive bitterness. - Kettle with Temperature Control: Using a kettle with adjustable temperature control can help you maintain the desired water temperature throughout the brewing process.
This ensures consistent results and a more enjoyable cup of coffee. - Preheating: It’s essential to preheat your brewing equipment, including the dripper, carafe, and cups, to ensure the water maintains its temperature throughout the brewing process.
This helps promote even extraction and optimal flavor development.
Weigh the coffee
To ensure consistent results and repeatability it’s incredibly useful to weigh your coffee beans before grinding them.
Here’s how to do it:
- Place a small container or the grinder’s hopper on your scale and tare the weight.
- Measure the desired amount of coffee beans based on your preferred coffee-to-water ratio.
A common starting point is 1:15 to 1:17, meaning 1 part coffee to 15 to 17 parts water. - Weigh the beans accurately, ensuring you have the correct amount for your desired brew strength and volume.
- I always like to add a couple of extra beans into the equation to account for any retention (ground beans left in the grinder).
How to grind your coffee for pour over
Grinding your coffee properly is crucial for achieving optimal extraction and flavor in pour over coffee.
Here’s how to grind your coffee for pour over:
- Use a burr grinder for consistent and even particle sizes, which leads to more balanced extraction.
- Set the grinder to a medium grind size, which is generally recommended for pour over coffee.
The grind should resemble the texture of granulated sugar or sea salt. - Adjust the grind size based on your specific brewing method and personal taste preferences.
Experiment with finer or coarser grinds to find the one that produces the best results for your palate.
How to rinse the paper filter in your dripper and preheat your carafe
Rinsing the paper filter and preheating your carafe go hand in hand. You rinse the paper into the carafe, heating both at the same time.
Here’s how to do it:
- Place the paper filter in your dripper.
- Boil your water.
- Pour hot water over the filter, fully saturating it.
This helps remove any paper taste and ensures the filter adheres to the dripper. - Allow the hot water to drain into the carafe or mug, preheating the vessel in the process.
- Discard the water used for rinsing and preheating before adding your coffee grounds to the dripper.
- Extra tip for if you’re using unbleached filters – rinse your carafe with more clean water to get rid of the papery taste.
How to add grinds to the dripper
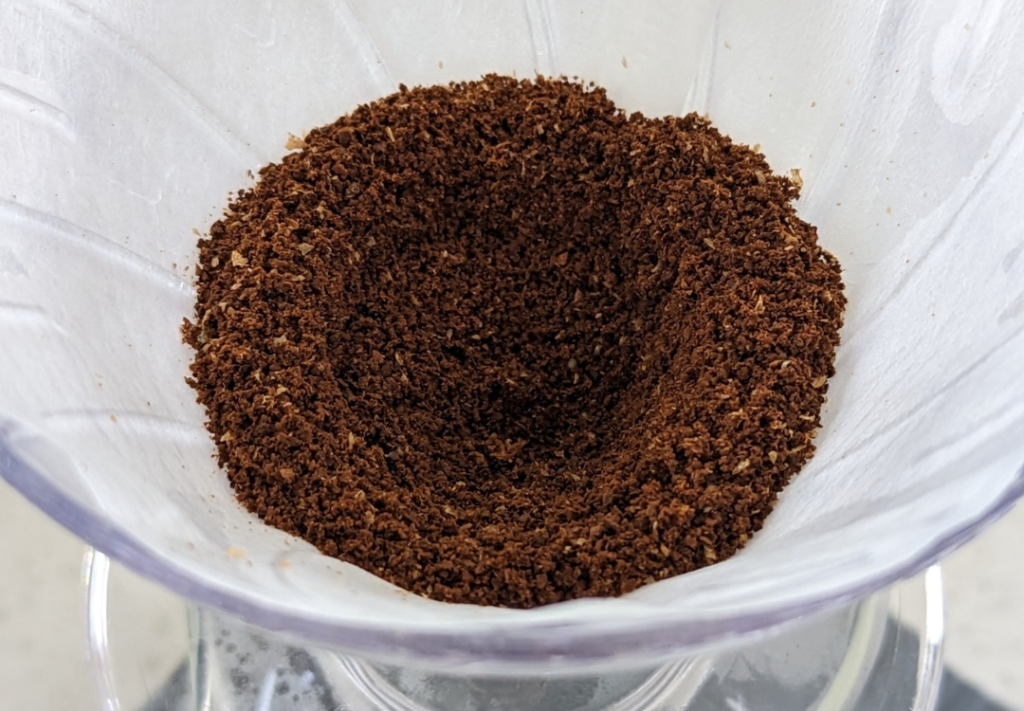
Once your filter is rinsed and your carafe is preheated, it’s time to add your coffee grounds to the dripper.
Here’s how:
- Grind your weighed coffee beans to the appropriate size for pour over coffee.
- Carefully add the ground coffee to the dripper.
- For some drippers you want an even bed of coffee, which can be done by lightly shaking the dripper side to side
- For others you may want to create a divot in the grinds.
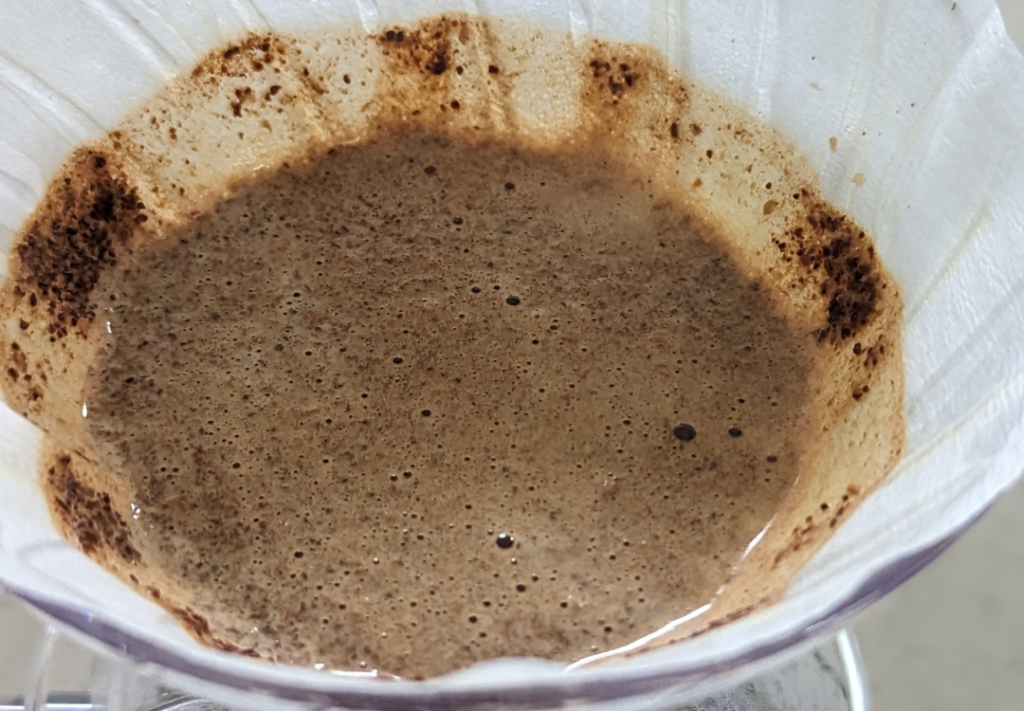
Bloom your coffee
Blooming your coffee gets rid of lots of the trapped CO2 in the grinds, which would otherwise give you a weird powdery taste in your coffee.
Here’s how to bloom your coffee for pour over:
- Slowly pour a small amount of hot water (roughly twice the weight of the coffee grounds) evenly over the grounds.
- Allow the coffee grounds to expand and bubble as they release gas and absorb water. This should take about 30-45 seconds.
- After the bloom, continue with the main pour in a slow, controlled manner.
How to pulse your water
Pulsing your water during the pour over brewing process helps ensure even temperatures in the brewing process.
In other words, you’re trying to not spike and drop the extraction temperature too much, while brewing.
Here’s how to pulse your water when making pour over coffee:
- After the bloom, begin pouring the remaining water in a slow, controlled, and circular motion, starting from the center and working your way outward.
- Pause briefly between pours, allowing the water to drain through the coffee bed before adding more.
This pulsing technique helps prevent over-extraction and promotes a more balanced brew. - Continue pulsing your water until you have reached the desired water volume based on your coffee-to-water ratio.
Monitor the brewing time to ensure you’re within the recommended range for pour over coffee (usually around 3-4 minutes).
Combining all the elements: how to make pour over coffee
Let’s dive into some recipes to see how all the above blurb applies to us in the real world!
This post is sponsored by Jelly Donut Events
![]()
Ok I know I mentioned this earlier but I thought I’d give them another shout out, as they help pay the bills for the site.
If you manage a team, especially a remote one, you probably know how hard keeping people motivated is.
Jelly Donut Events was created to help you run engaging and fun virutal events to bond and motivate your team.
Their selection includes coffee, tea and latte tastings, as well as really unique events like learn to lockpick and learn magic.
If you mention you heard about them via me you’ll get a sweet 10% off your first coffee event!
Beginners pour over recipes
These recipes are designed to be an entry point into pour overs.
As such, they’re nice and easy to follow and have plenty of leeway for customizing to your own preferences.
Absolute basics Hario v60 pour over recipe
- Boil your water and leave it for 30 seconds to cool down (roughly 95° Celcius or 203° Fahrenheit).
- Weigh 20g of coffee beans.
- Grind your coffee to a medium grind size.
- Rinse the paper filter in your dripper and preheat your carafe or mug.
- Add ground coffee to the dripper, level the coffee and then use your finger to poke a little divot in the middle.
- Bloom your coffee by pouring 40g of hot water over the grounds and waiting 30-45 seconds. If you need to, give the dripper a swirl, to make sure all grinds are wet.
- Pulse pour the remaining water in a circular motion, pausing between pours. It doesn’t really matter how you do this, as this is a basic recipe.
- When you’ve poured 320g of water into the dripper, stop.
- Monitor the total brewing time (aim for around 3-4 minutes).
- Enjoy your freshly brewed Hario v60 coffee. Use the troubleshooting tips below to adjust to your own tastes.
Basic Kalita Wave pour over recipe
- Boil your water and leave it for 30 seconds to cool down (roughly 95° Celcius or 203° Fahrenheit).
- Weigh 15g of coffee beans. I like to go lower on the Kalita Wave as I think it makes it more controllable.
- Grind your coffee to a medium grind size.
- Rinse the paper filter in your dripper and preheat your carafe or mug. If the pleats of the filter fall inwards, move them back to the edge of the dripper.
- Add ground coffee to the dripper, creating a level coffee bed.
- Bloom your coffee by pouring 40g of hot water over the grounds and waiting 30-45 seconds. Give the dripper a light swirl, to make sure all grinds are wet.
- Pulse pour the remaining water in a circular motion, pausing between pours. It doesn’t really matter how you do this, as this is a basic recipe.
- When you’ve poured 240g of water into the dripper, stop.
- Monitor the total brewing time (aim for around 3-4 minutes).
- Enjoy your freshly brewed Kallita Wave coffee. Use the troubleshooting tips below to adjust to your own tastes.
Absolute basic Espro Bloom pour over recipe
- Boil your water and leave it for 30 seconds to cool down (roughly 95° Celcius or 203° Fahrenheit).
- Weigh 16g of coffee beans.
- Grind your coffee to a medium-fine grind size. About the size of fine sea salt.
- Rinse the paper filter in your dripper and preheat your carafe or mug. I like to pour into the middle then swirl the water around, otherwise the walls of the filter collapse in a bit.
- Add ground coffee to the dripper, creating a level coffee bed.
- Bloom your coffee by pouring 30g of hot water over the grounds and waiting 30 seconds. Give the dripper a light swirl, to make sure all grinds are wet.
- Pour the remaining water in a circular motion. You should be able to fill the whole dripper.
- When you’ve poured 288g of water, stop.
- Monitor the total brewing time (aim for around 2 minutes).
- Enjoy your freshly brewed Espro Bloom coffee. Use the troubleshooting tips below to adjust to your own tastes.
Intermediate brewing recipes
Vancouver Coffee Snob v60 Brew Recipe
Full disclosure, this is a fork of the amazing Cole Torodero recipe from the Handbrew publication.
- Use a 1:17 coffee-to-water ratio.
- This is 25g of coffee and 425g of water.
- Grind coffee to a slightly bigger than medium ground coffee consistency.
- Heat fresh water to boiling temperature.
- Rinse the paper filter and preheat the carafe.
- Add coffee grounds to the dripper and create a small well in the center.
- Bloom the coffee with 100g of water and let it sit for 45 seconds.
- Pour 125g of water in concentric circles over the coffee grinds. This should take around 25 seconds.
- Wait until the water level has dropped to around this level:

- Pour 200g of water in concentric circles. This should take around 20 seconds. You don’t need to pour slowly for this but try to make sure you evenly distribute it.
- Wait for all the coffee to draw down out of the dripper.
- This should take around 3 ½ minutes.
- If it’s longer than 3 ½ minutes, grind coarser next time. If it’s quicker than 3 ½ minutes, grind finer.
More advanced brewing recipes
James Hoffmann Hario v60 brew recipe
James Hoffmann, a renowned coffee expert, has a popular pour over coffee brewing method.
Here’s his recipe:
- Use a 1:16.67 coffee-to-water ratio (e.g., 30g coffee to 500g water).
- Grind coffee to a medium-fine consistency.
- Heat water to around 206°F (97°C).
- Rinse the paper filter and preheat the carafe.
- Add coffee grounds to the dripper and create a small well in the center.
- Bloom the coffee with 60g of water and let it sit for 45 seconds.
- Pour the remaining water in 4-5 even pulses, ensuring the coffee bed remains consistently saturated.
- Aim for a total brew time of 3 1/2 minutes.
Lance Hedrick Hario v60 brew recipe
Lance Hedrick, a coffee professional and barista champion, has his own pour over coffee brewing method.
Here’s his recipe:
- Use a 1:16 coffee-to-water ratio (e.g., 25g coffee to 400g water).
- Grind coffee to a medium-fine consistency.
- Heat water to around 205°F (96°C).
- Rinse the paper filter and preheat the carafe.
- Add coffee grounds to the dripper and create a small well in the center.
- Bloom the coffee with 50g of water and let it sit for 30 seconds.
- Pour the remaining water in 3-4 even pulses, allowing the water to drain almost completely between each pour.
- Aim for a total brew time of 3-3 1/2 minutes.
Advanced pour over techniques
For those looking to take their pour over coffee skills to the next level, consider experimenting with these advanced pouring techniques:
Pour in concentric circles
Pour the water in small, continuous circles, spiralling from the center of the coffee bed outward.
This helps evenly saturate the grounds and maintain a consistent slurry level.
The Rao Spin
After completing your final pour, gently swirl the dripper to settle the coffee bed and promote even extraction.
This technique was popularized by coffee expert Scott Rao.
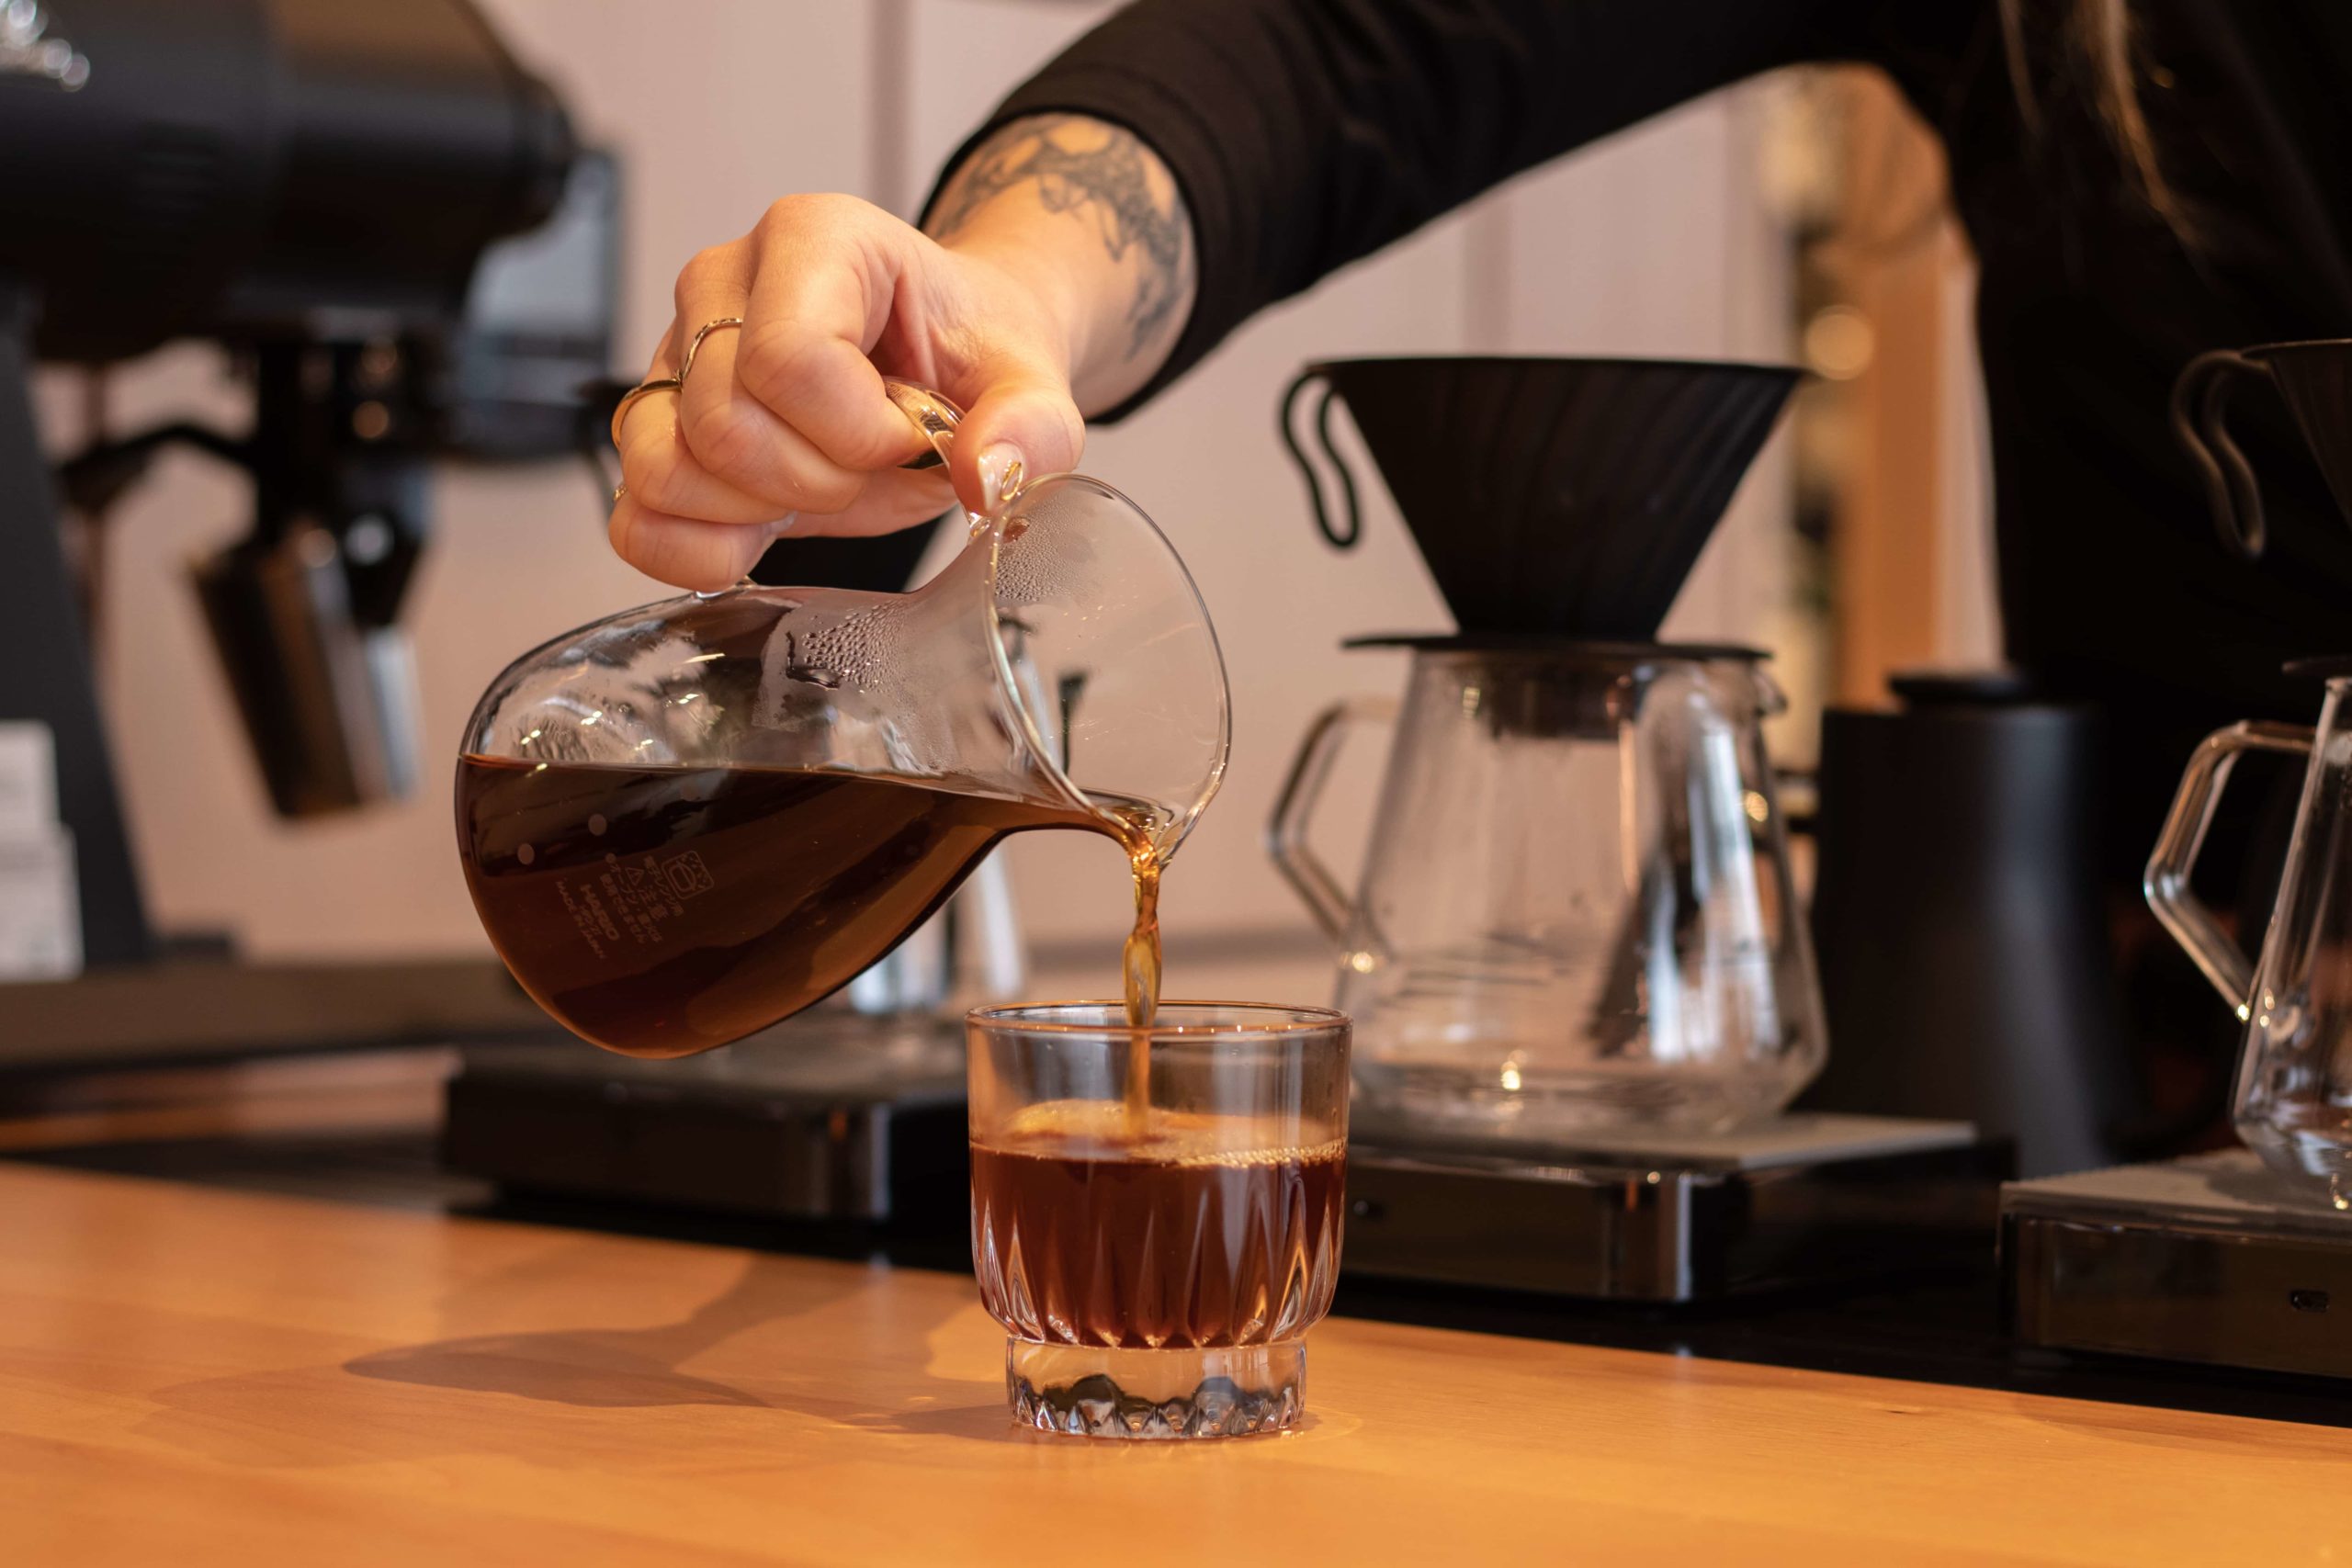
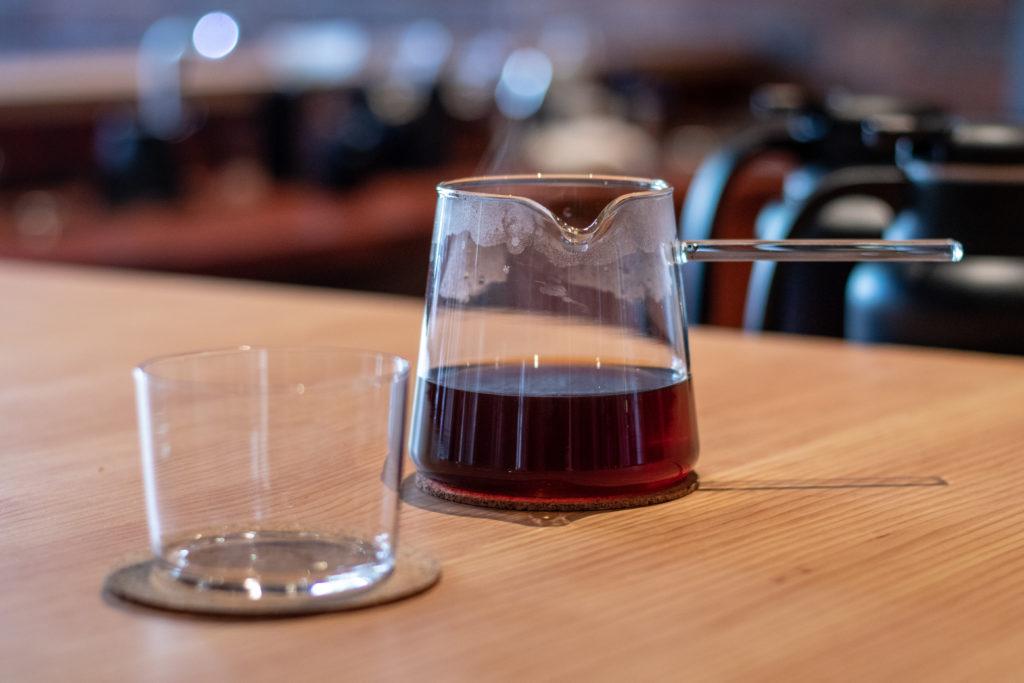
Stretch your coffee
OK, I know this sounds ridiculous but the idea of ‘stretching’ your coffee is really just to aerate it.
Check out this photo I took of someone at Paragon Tea Room doing exactly this:
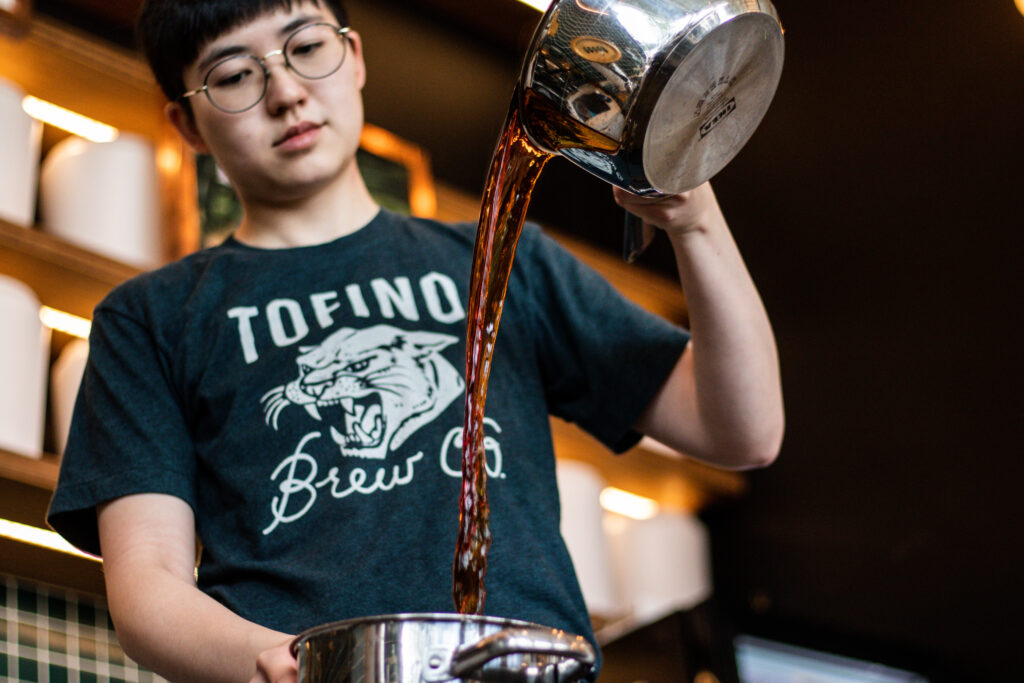
Essentially what you’re trying to do is pour back and forth between two vessels to add air into the liquid.
It also has the added benefit of cooling the coffee, which gets it closer to drinking temperatures much quicker.
Troubleshooting your pour over brewing
Why does my pour-over coffee taste weak?
If your pour-over coffee tastes weak, it could be due to a few factors:
- Insufficient coffee-to-water ratio: Using too little coffee for the amount of water can result in a weak, under-extracted brew. Adjust the ratio by using more coffee grounds or less water to increase the strength of your coffee.
- Incorrect grind size: If the coffee grounds are too coarse, water will pass through them too quickly, leading to under-extraction. Try using a finer grind size to slow down the extraction process and increase the coffee’s strength.
- Brewing too quickly: If the water passes through the coffee bed too quickly, it won’t have enough time to extract the desirable compounds. Slow down your pour rate or use a pulse pour method to extend the brewing time and achieve a more robust flavor.
Why does my pour-over coffee taste bitter?
Bitterness in pour-over coffee can be caused by several factors:
- Over-extraction: If the water has been in contact with the coffee grounds for too long, it can extract undesirable compounds that contribute to bitterness. To avoid over-extraction, try using a coarser grind size, a faster pour rate, or a shorter brewing time.
- Water temperature: Water that is too hot can extract more bitter compounds from the coffee grounds. Aim for a water temperature between 195°F and 205°F (90°C to 96°C) for optimal extraction.
- Bean quality and roast level: Low-quality beans or beans that have been over-roasted can be more prone to bitterness. Opt for high-quality, freshly roasted coffee beans to ensure the best flavor profile. Additionally, try experimenting with lighter roast profiles, which can provide more nuanced flavors and less bitterness.
- Incorrect coffee-to-water ratio: Using too much coffee for the amount of water can also result in a bitter, over-extracted brew. Adjust the coffee ratio by using fewer grounds or more water to balance the flavor.
FAQ
I hit the Googlewebs and ran a search for some of the most common pour over related questions.
Here they are.
There may be some sarcasm here…
Why do you “bloom” coffee?
Blooming coffee is an essential step in the pour over brewing process, as it allows the coffee grounds to release trapped carbon dioxide gas and absorb water more effectively.
Trapped CO2 has a kind of dry, powedery taste to me.
Not really what you want in your coffee tasting notes, eh?
Should I buy ground or whole coffee beans?
It’s generally recommended to buy whole coffee beans rather than pre-ground coffee for a few reasons:
- Freshness: Whole coffee beans stay fresh longer than ground coffee, which can lose its flavor and aroma more quickly.
- Customization: Grinding your own beans allows you to adjust the grind size for different brewing methods and personal taste preferences.
- Consistency: Pre-ground coffee might not have the ideal consistency for your specific brewing method, resulting in suboptimal extraction and flavor.
Does good coffee require filtered water?
Using filtered water can significantly improve the taste of your coffee, as it removes impurities, minerals, and chemicals that can alter the flavor profile.
Good quality water should be odourless, tasteless, and have a balanced mineral content.
It’s essential to use water that is neither too hard nor too soft, as this can affect extraction and flavor.
In general, filtered water is recommended for brewing coffee to achieve the best results.
If you really want to get nerdy with it, you can buy something like Third Wave Water:
US Link
Canada Link.
This is custom water, made for brewing coffee.
Should I buy a burr grinder or a blade grinder?
A burr grinder is generally considered superior to a blade grinder for the following reasons:
- Consistency: Burr grinders produce more uniform and consistent grind sizes, resulting in better extraction and flavor.
- Customization: Burr grinders typically offer more grind settings, allowing you to adjust the grind size for different brewing methods and taste preferences.
- Heat: Blade grinders can generate heat during grinding, which may affect the flavor of your coffee. Burr grinders are less prone to this issue.
Long story short – don’t even bother with other grinders. Go Burr or go home.
I highly recommend the Baratza Encore.
Should I buy a Gooseneck kettle?
A gooseneck kettle is recommended for pour over coffee brewing, as it offers greater control over the flow rate and direction of the water.
This precision is useful for achieving even extraction, but it’s honestly not the end of the world if you don’t have one.
That being said, they’re really cheap, so it’s kind of a no-brainer to me.
I use a Bonavita kettle at home, but as soon as that thing breaks I’m getting a Stagg EKG:
What is the best pour over maker?
There isn’t a one-size-fits-all answer for the best pour over maker, as it largely depends on your preferences and needs.
My personal favourites are:
- Hario V60 – industry standard but a tough learning curve.
Buy it in the US.
Buy it in Canada. - Chemex – beautiful, expensive and makes massive amounts of coffee.
Buy it in the US.
Buy it in Canada. - Kalita Wave – indestructible and easy to use, but I find it a little bit boring at times.
Buy it in the US.
Buy it in Canada. - Espro Bloom – makes v60-level coffee in half the time, but it’s not cheap.
Buy it in the US.
Buy it in Canada.
Ultimately, the best pour over maker for you will depend on your taste preferences, skill level, and desired brewing experience.
What is the difference between drip and pour over coffee?
Oh, the age-old question.
You see, drip coffee is like the fast food of the coffee world—quick, convenient, and it gets the job done.
But pour over coffee, my dear, is an art form. It’s for those who have the time and patience to savor every last drop of their liquid gold.
Pour over coffee lets you control every aspect of the brewing process, from water temperature to pouring technique, so you can bask in the glory of your own coffee-making prowess.
Is pour over coffee worth it?
Oh, absolutely.
Because who wouldn’t want to invest their precious time meticulously weighing beans, boiling water, and perfecting their pouring technique, all for that heavenly drink that makes you feel like a true coffee snob?
#pretentious
What is a coffee dripper for?
Well, you see, a coffee dripper is an ingenious little contraption designed to separate people who merely “like” coffee from those who are committed enough to perform an elaborate ritual just to get their caffeine fix.
It’s like a secret club, but with more caffeine.
Why is pour over coffee better than drip?
Pour over coffee is clearly superior because it allows you to unleash your inner barista and achieve a level of smugness that just can’t be attained with a basic drip coffee maker.
Plus, you get to show off your refined taste buds while you’re at it.
What is a coffee dripper called?
A coffee dripper, also known as the ultimate coffee snob’s weapon of choice, is sometimes referred to as a “pour over cone” or “pour over brewer.”
My Espro Bloom is called Simon, but I’m weird like that.
What about the Hario Switch?
GREAT question.
The Hario Switch is a kind of combo pour over and immersion brewer.
You can brew coffee like a normal v60, but there’s a little switch on the bottom that allows you to stop the water from escaping out of the bottom of the dripper.
This means you can let the coffee grinds immerse in water for however long you want.
This results in a brew more like a French Press coffee than a pour over filter coffee.
It’s an excellent way to brew and I wrote a full review on the Hario Switch here.