Magnetic Coffee Bag Labels
I drank a lot of coffee in 2016 and decided to save all the bags. I wasn’t sure what for, other than a funky Instagram picture, but then I stumbled upon this thread on Reddit. I knew what I had to do: create magnetic coffee bag labels!
What you’ll need
Magnetic sheets with adhesive
A craft knife
A cutting board
A metal ruler
A paper trimmer (not needed but handy)
Some scissors
or if you’re in the USA:
Magnetic freedom sheets with adhesive
A craft knife
A cutting board
A metal ruler
A paper trimmer (not needed but handy)
Some scissors
Step 1: Assemble your tools
Fire up Spotify and search for ‘Epic Movie Scores’, you’re going to need a soundtrack to this adventure.
Step 2: Prepare the bags
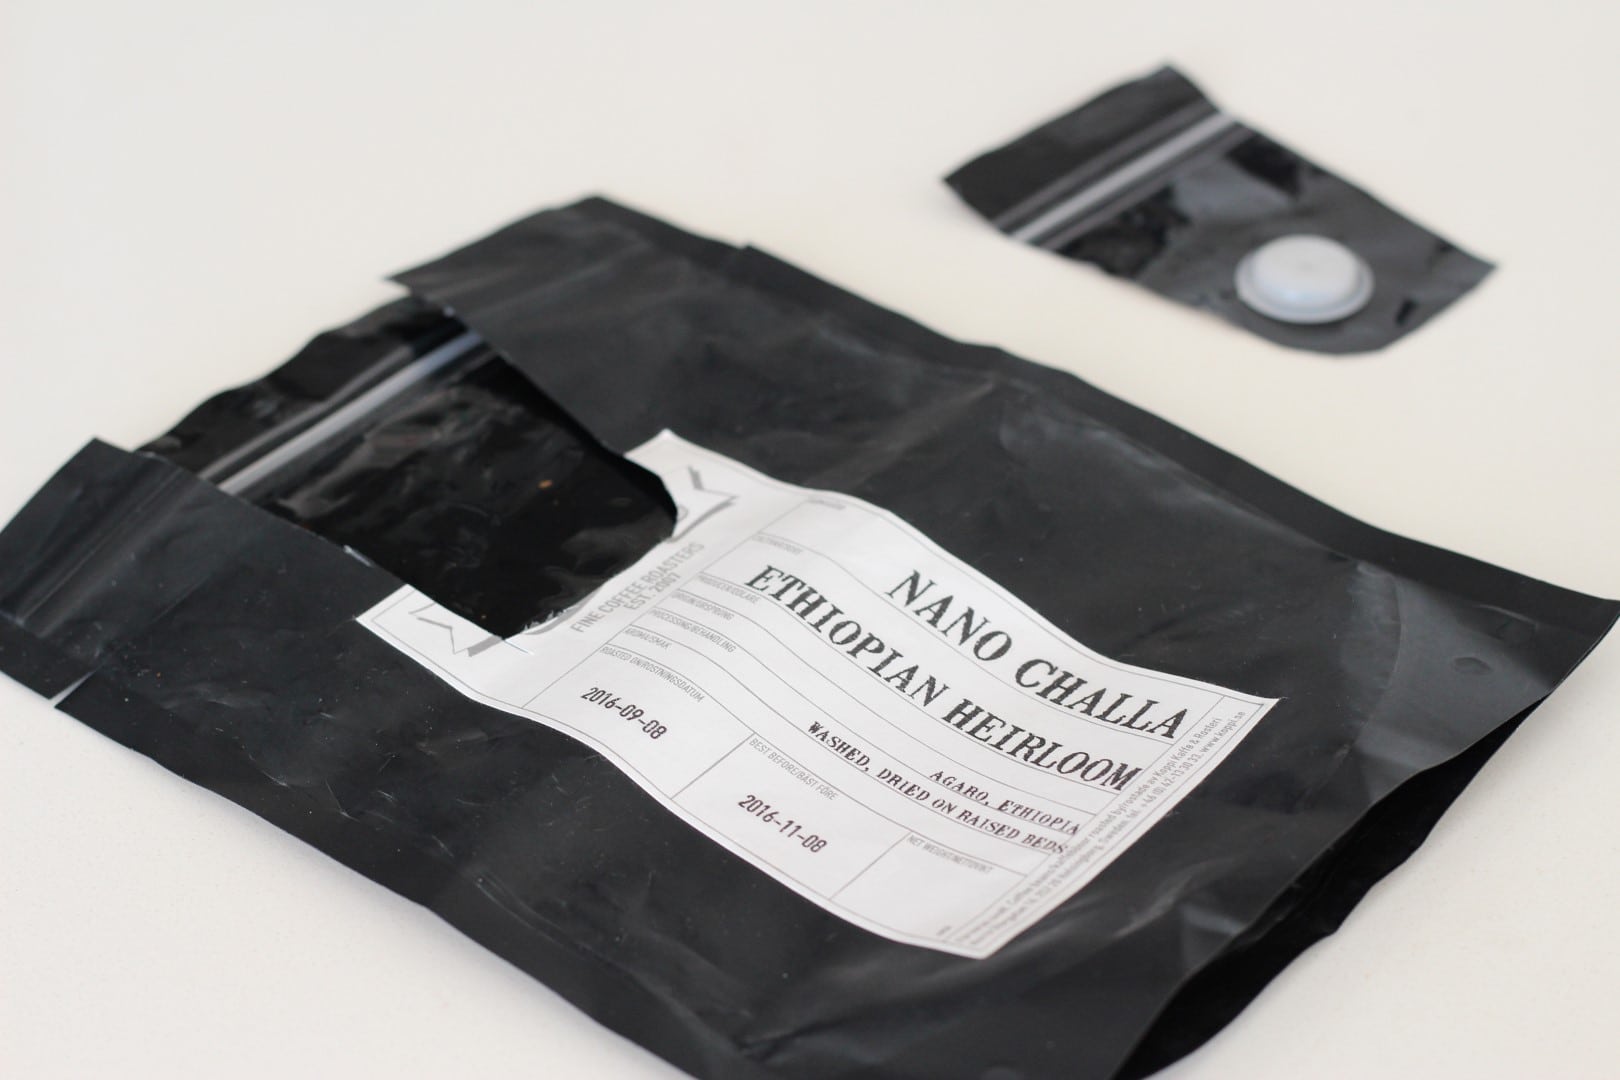
Plan out your cuts before you make them, then cut off the parts of the bag that you don’t need. For example, remove the airlock from the back of the bag with scissors.
Step 3: Cut the bags
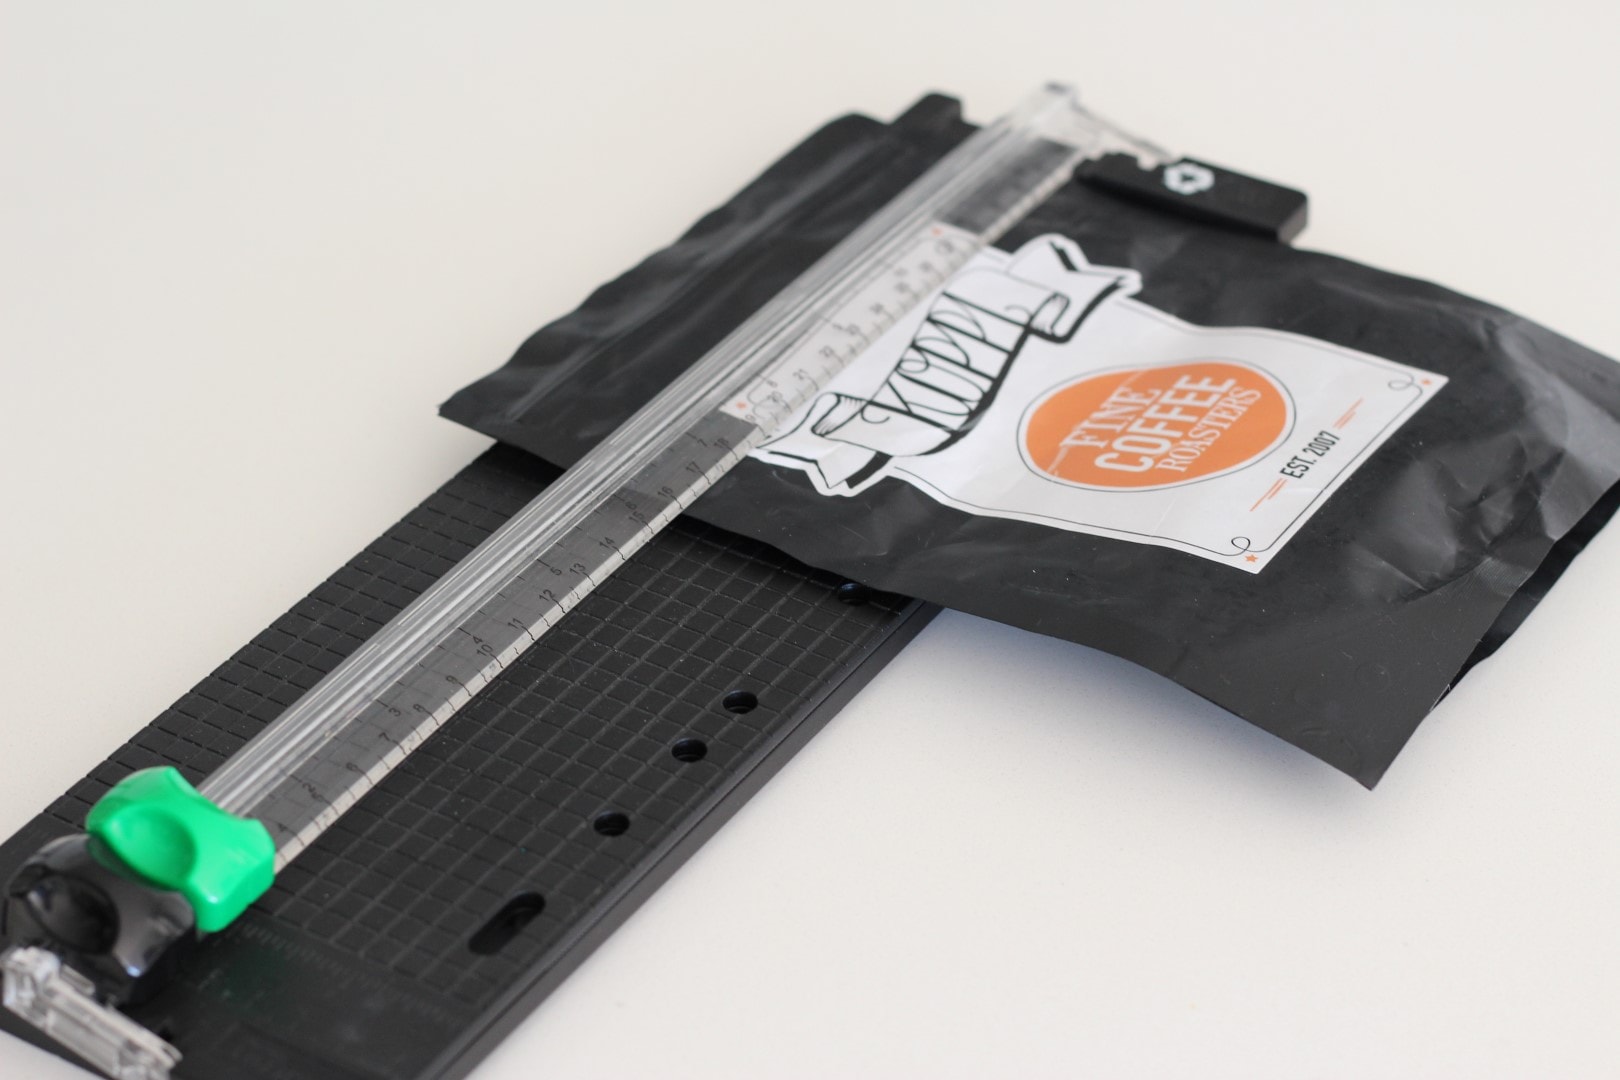
Put the bags onto the cutting board and cut out the label. Alternatively use the paper trimmer for this. Clean the back of the bag so it will adhere to the magnetic sheet nicely.
Step 4: Cut the magnetic sheets
Put the magnetic sheet onto the cutting board then put the bag on top of the sheet. Use the knife and the metal ruler to make clean cuts around the bag. Leave some excess space around the bag to make it easier to stick onto the sheet.
Step 5: Peel off the magnetic sheet backing
Remove the backing from the magnetic sheet. If you’re as uncoordinated as me, proceed to get it stuck to your hands a lot.

Step 6: Place the bag onto the adhesive
A trick to getting this to work well is to start at one end and use the metal ruler to push out any air bubbles that may form.
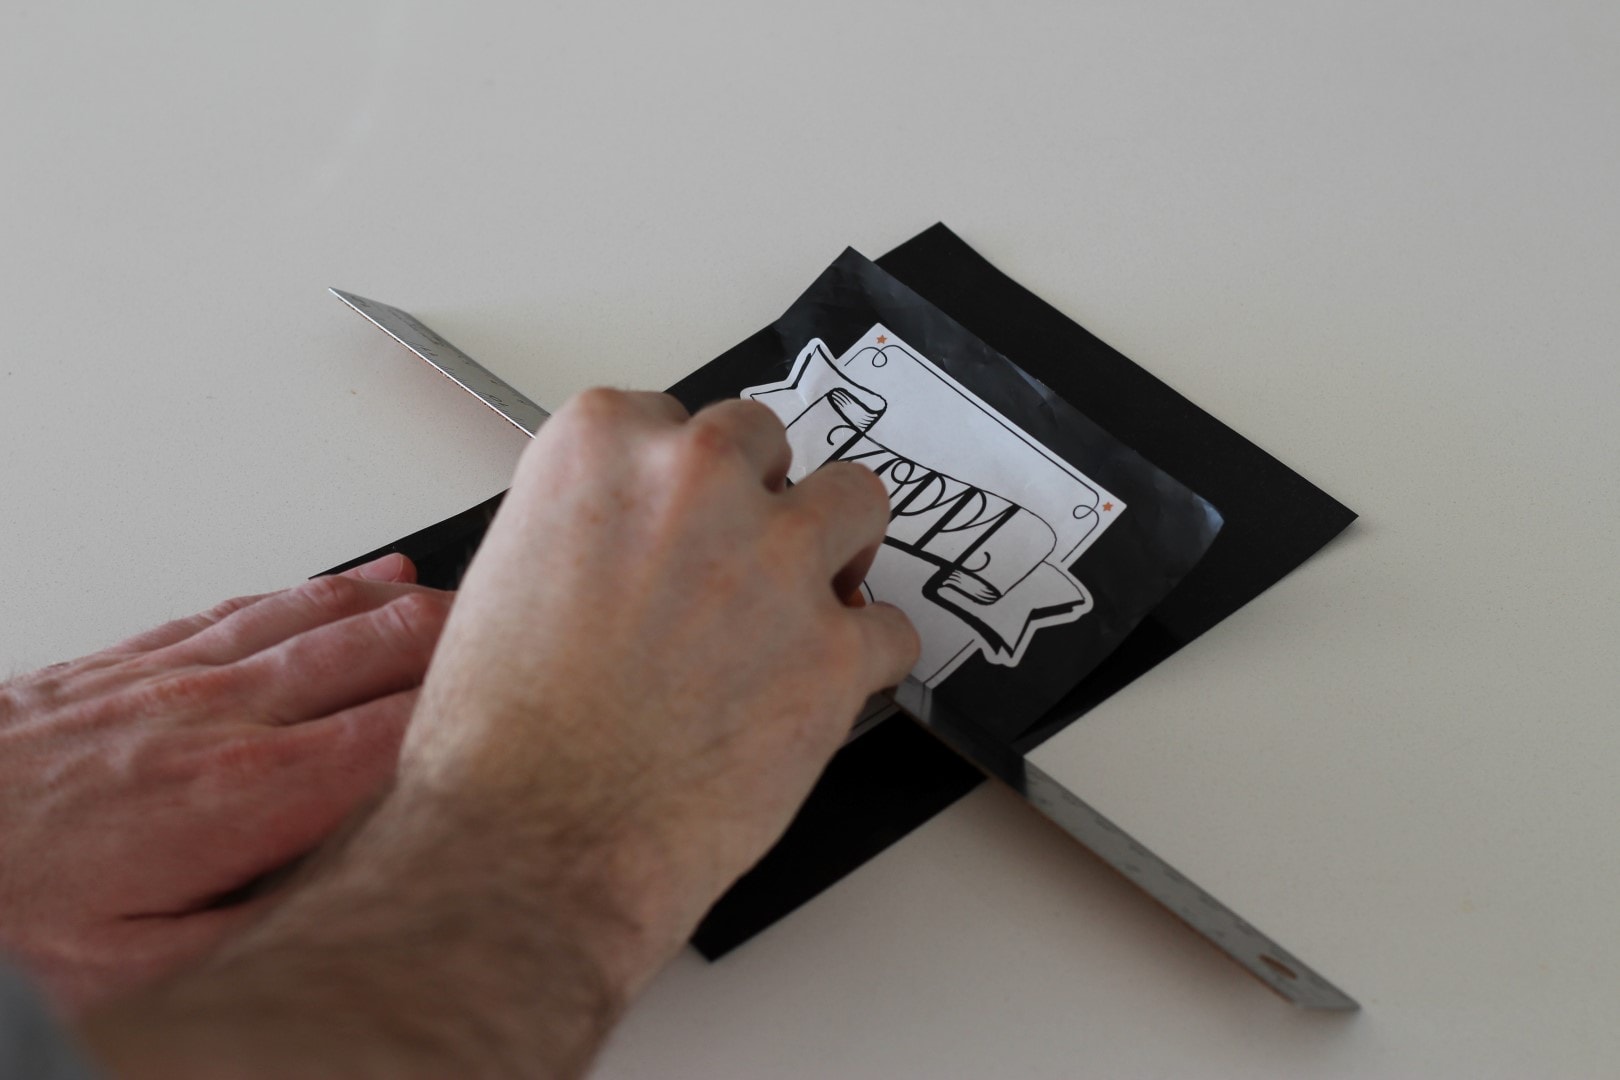
Step 7: Cut off the excess magnetic sheet
Use the knife, ruler and cutting board to trim off the excess magnetic sheet

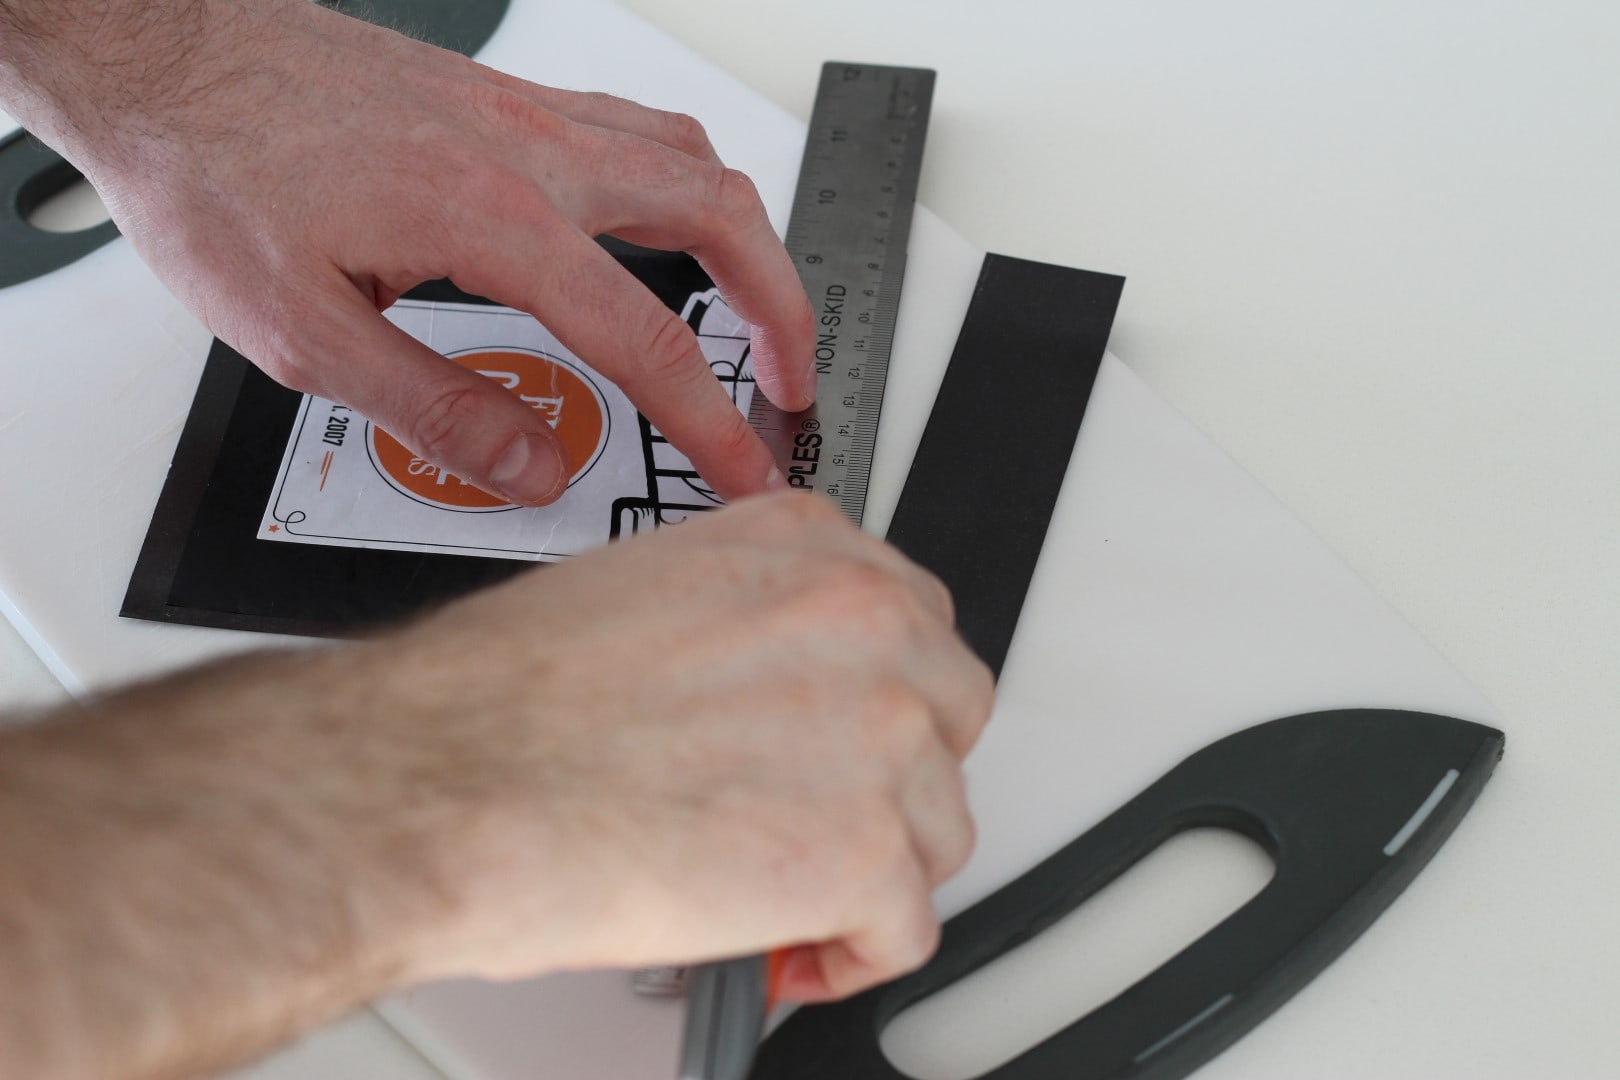
Step 8: Marvel at your magnetic label
Make your peace with the sharp corners or…

Step 9: Trim the edges
Use the scissors to make nice round edges.
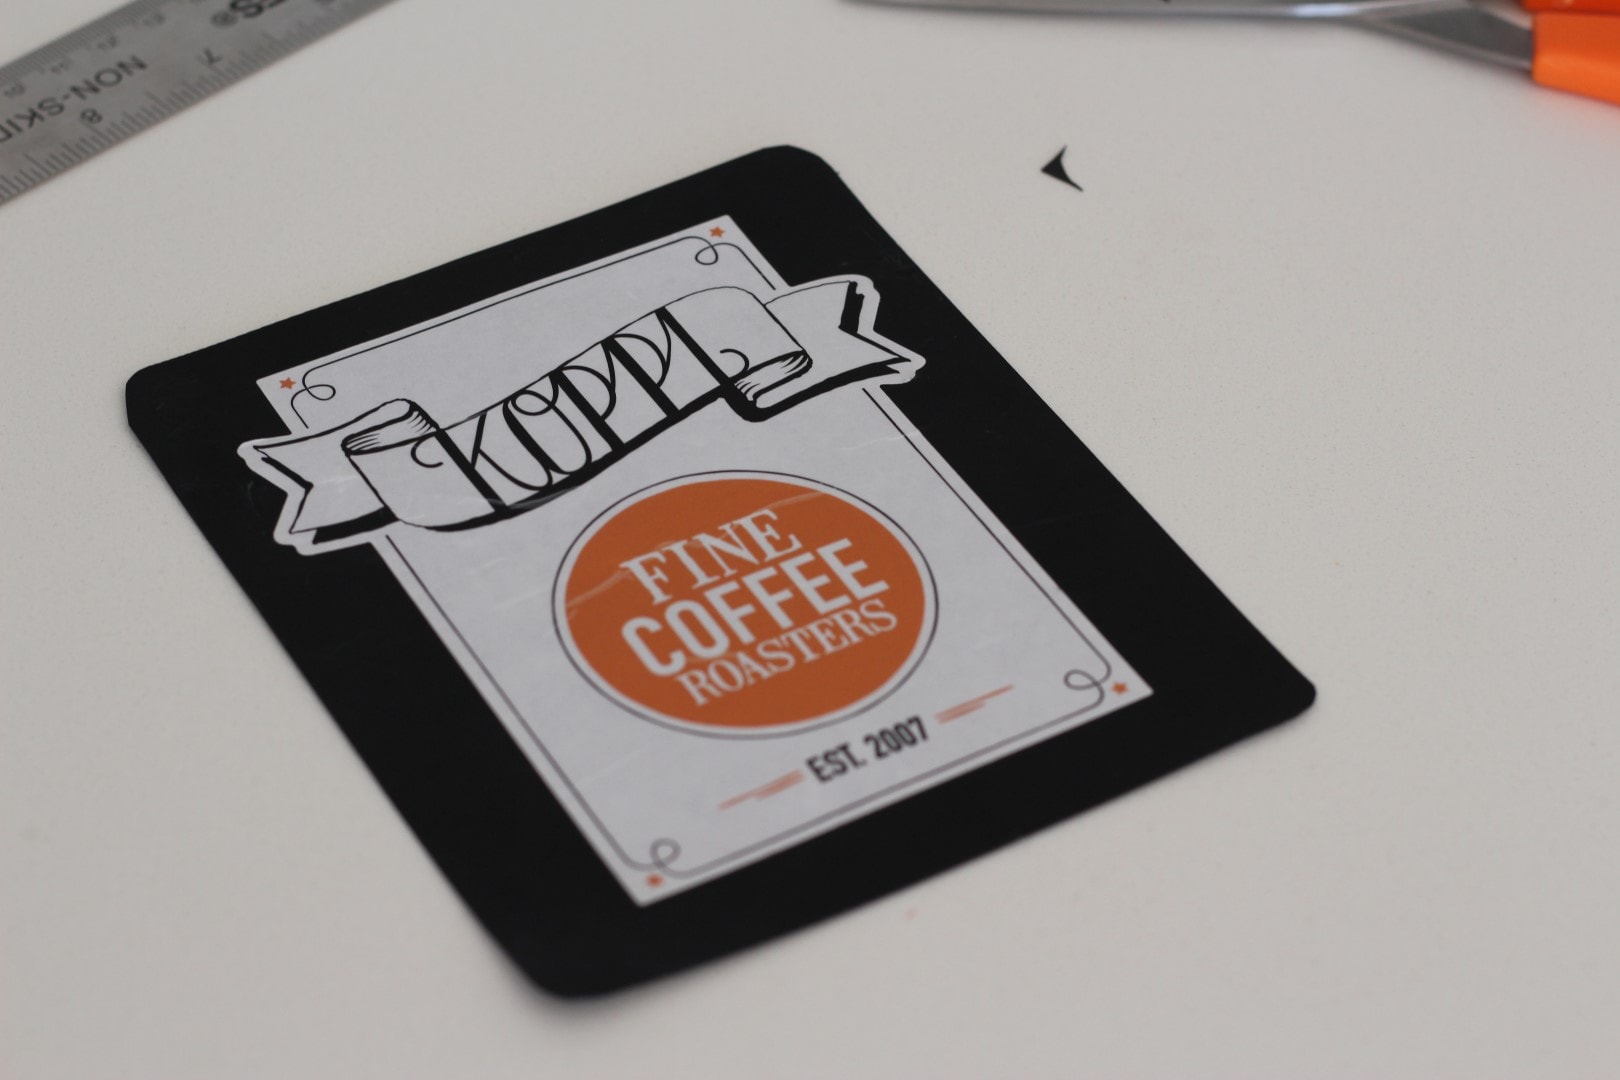
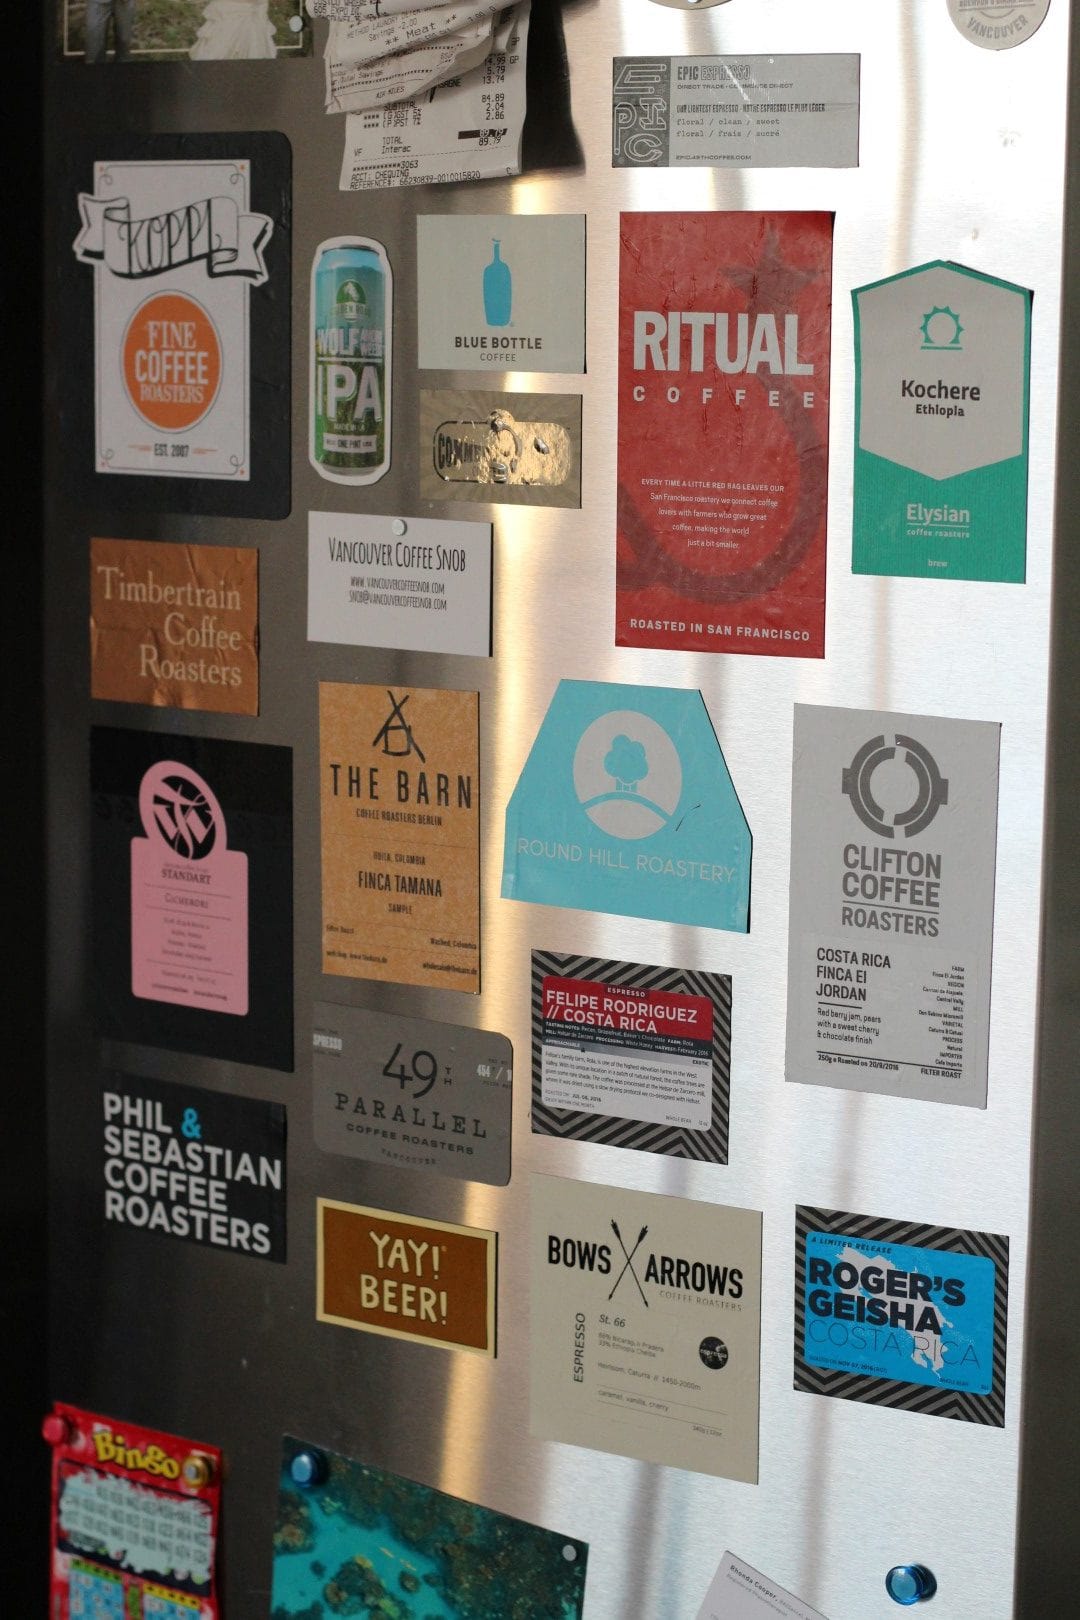
Step 10: Affix to fridge
Then take a side profile shot to reveal all the air bubbles you’ve missed.

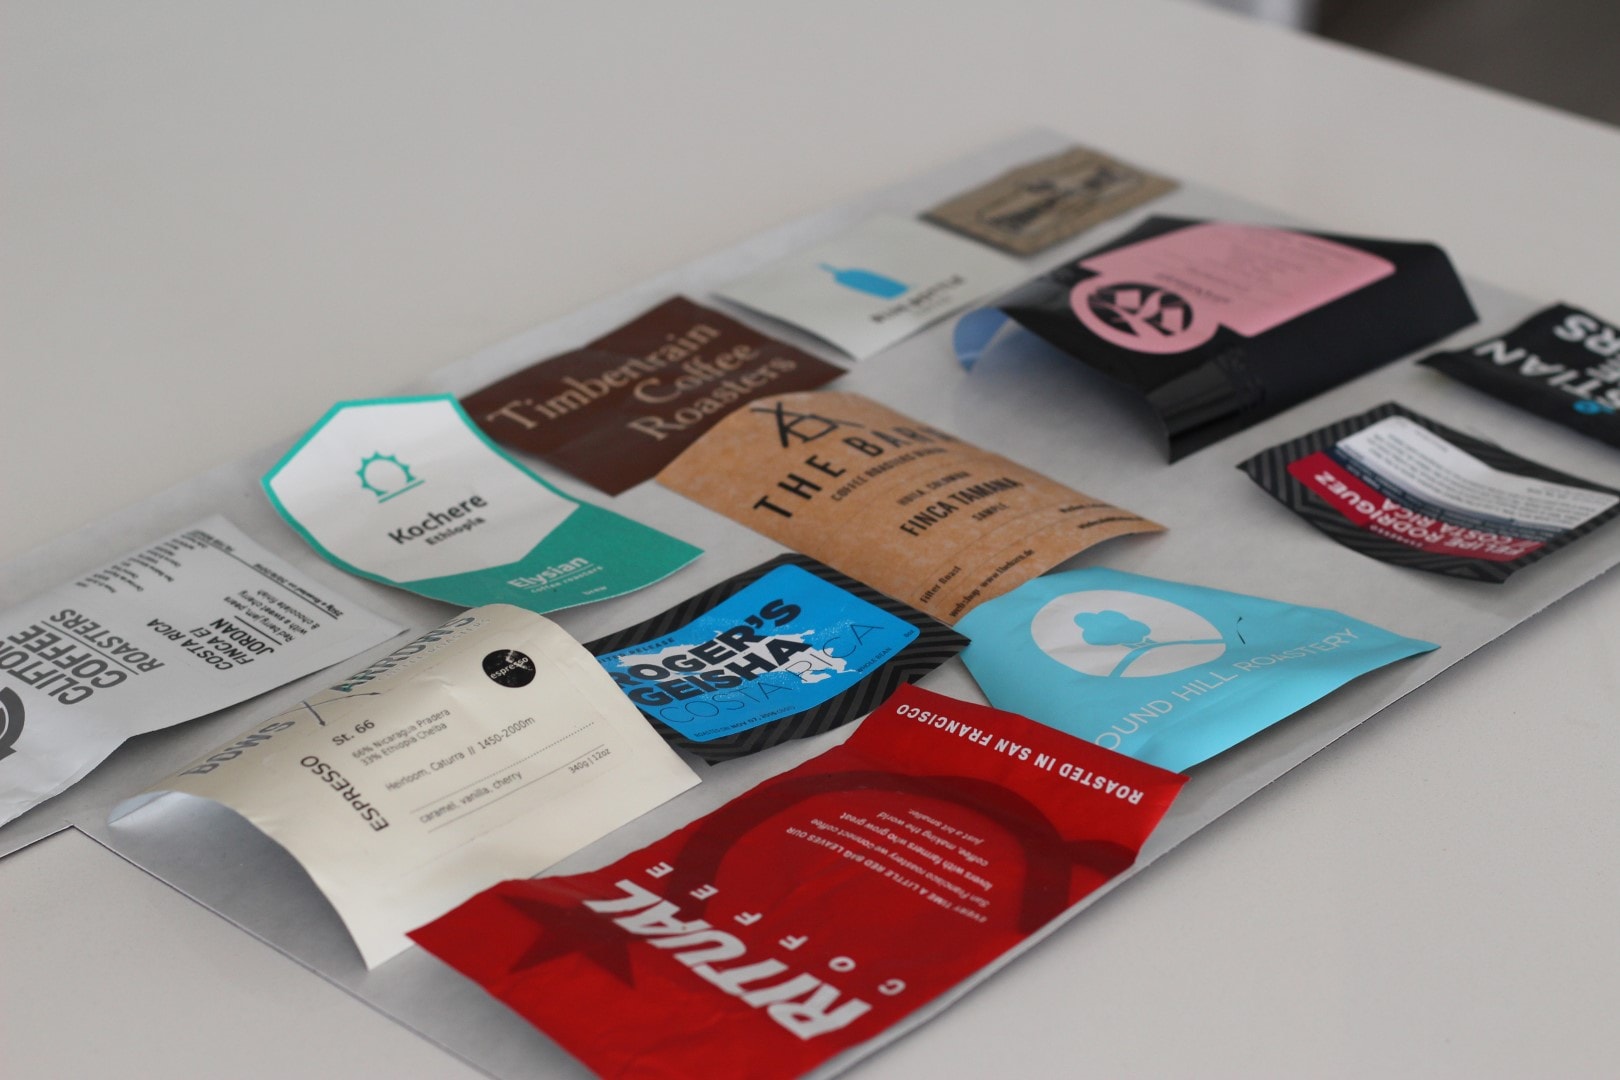
Step 11: Place the rest of your labels onto the magnetic sheet
You can now use a pen to mark where your cuts should go, cut the sheet into sections and turn the rest into magnets.
